Twilio
Outbound call routing
Creating a SIP account
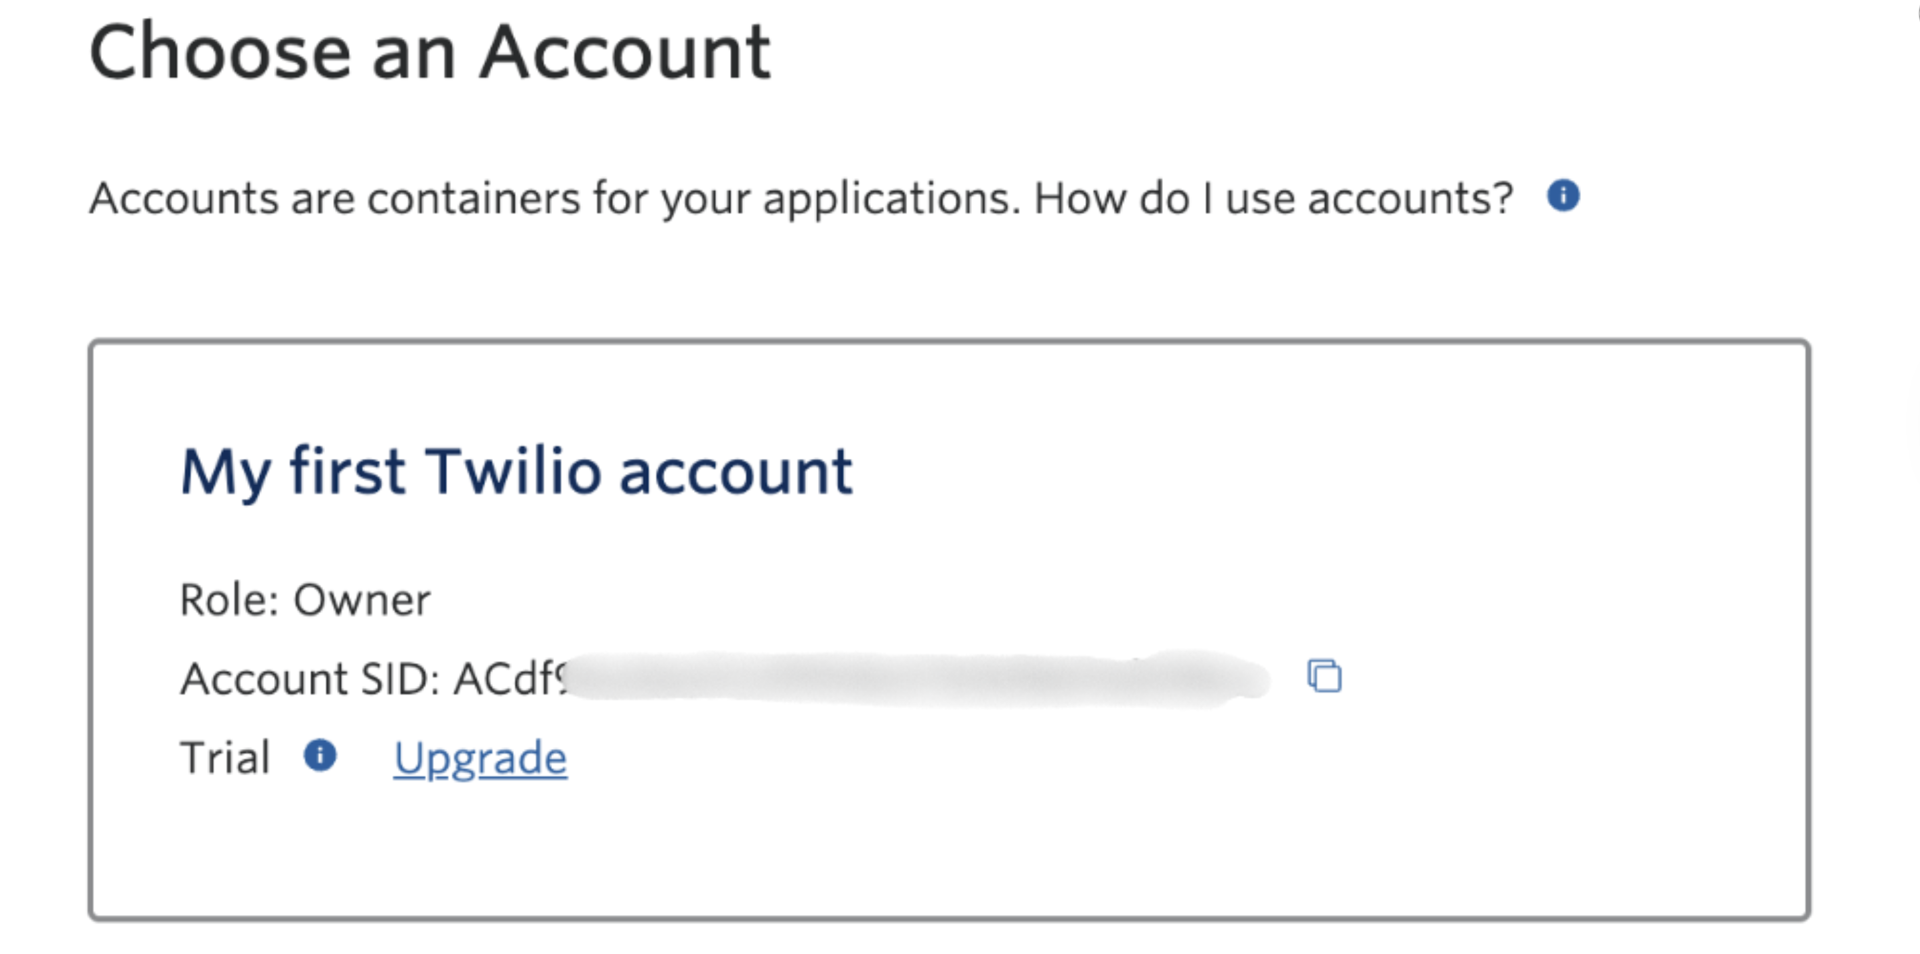
- Log in to your Twilio account and copy the account SID
-
Contact didlogic support requesting a SIP account created with the provided account SID.
-
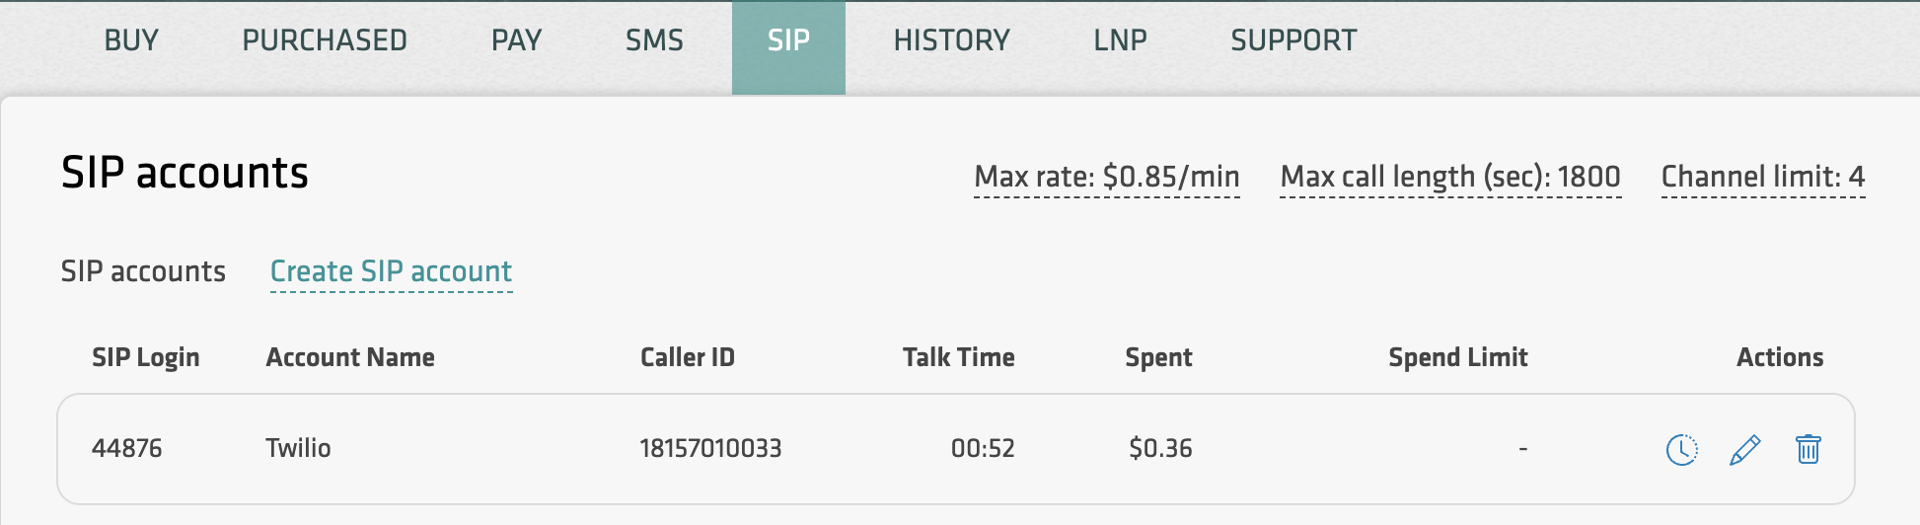
Once the SIP account is created, you will see it in the "SIP" tab. Click on the pencil icon to edit it.
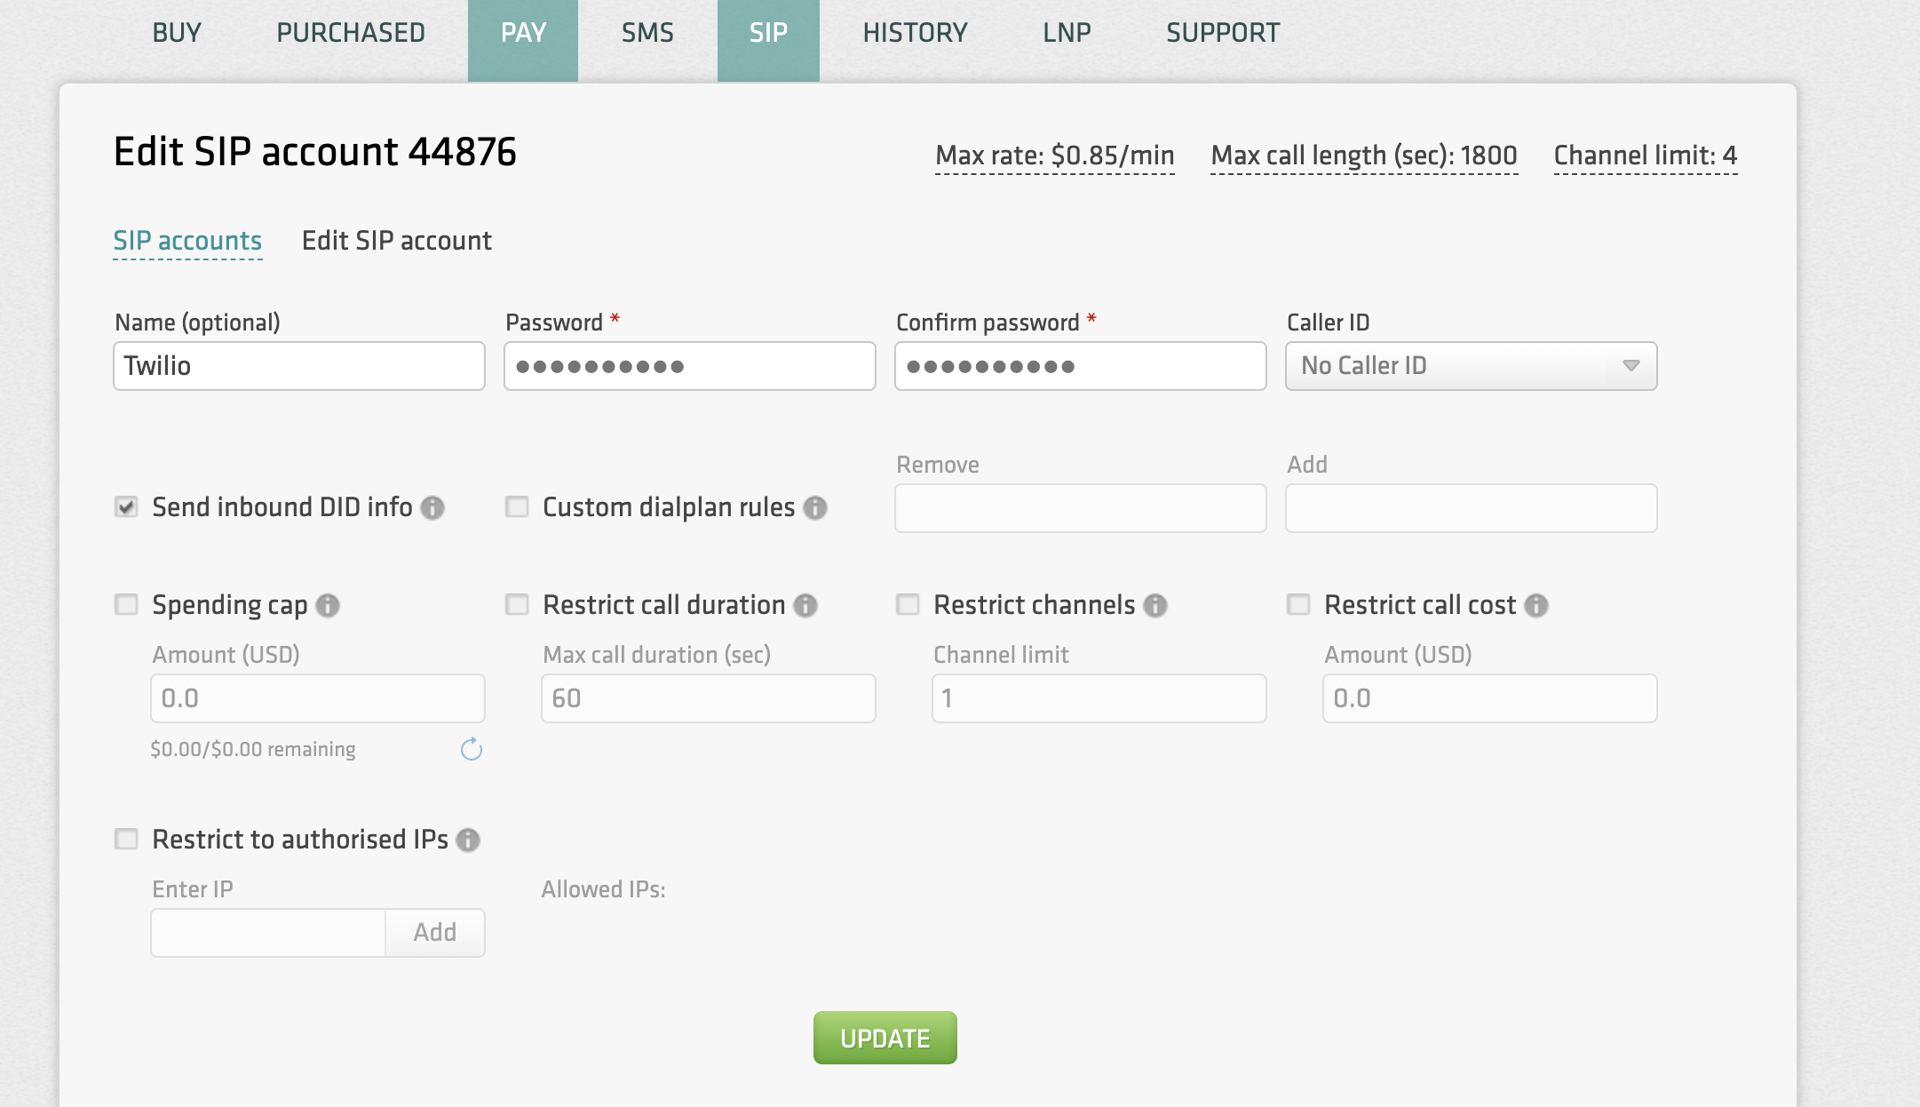
- Set a password (optionally, you may change "Name" and "Caller ID"), and click "Update".
Twilio configuration
- In Twilio, go to Develop → Voice → Manage → SIP domains.
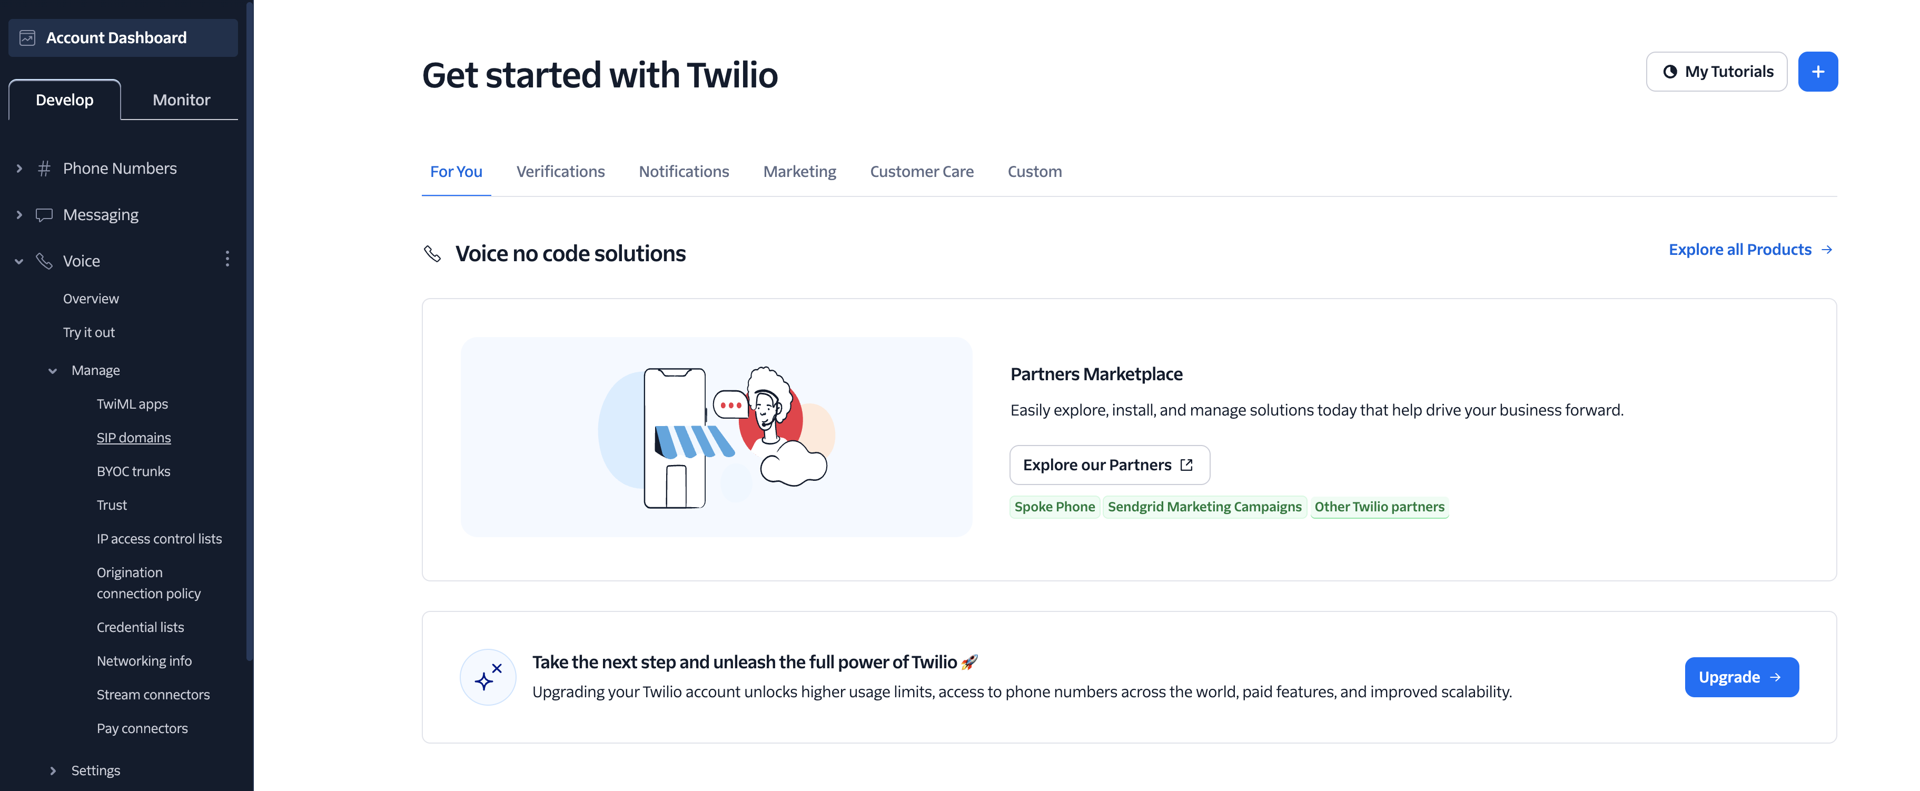
- On the Programmable SIP Domains page, add a new SIP domain by clicking on the "+" button.

- A "New SIP Domain" page will open.
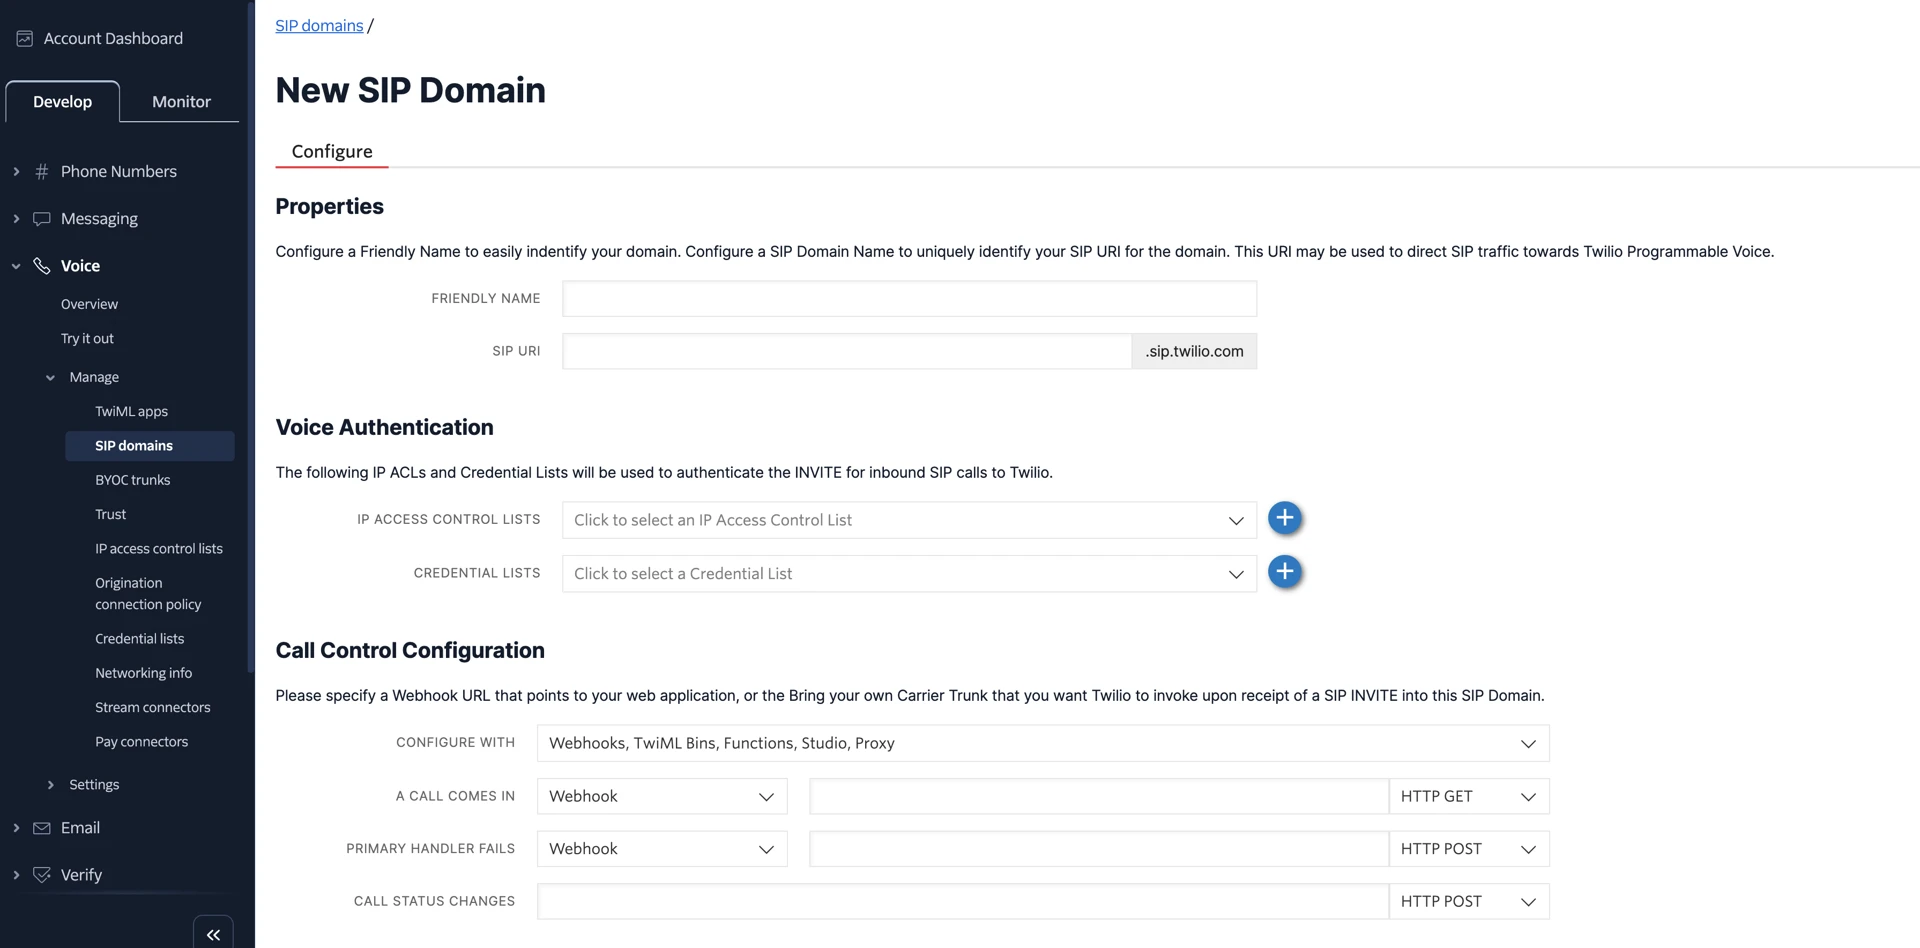
- Enter the desired name into the "Friendly name" field; it can be anything. Afterwards, enter the desired name into the "SIP URI" field, and ensure it is available.

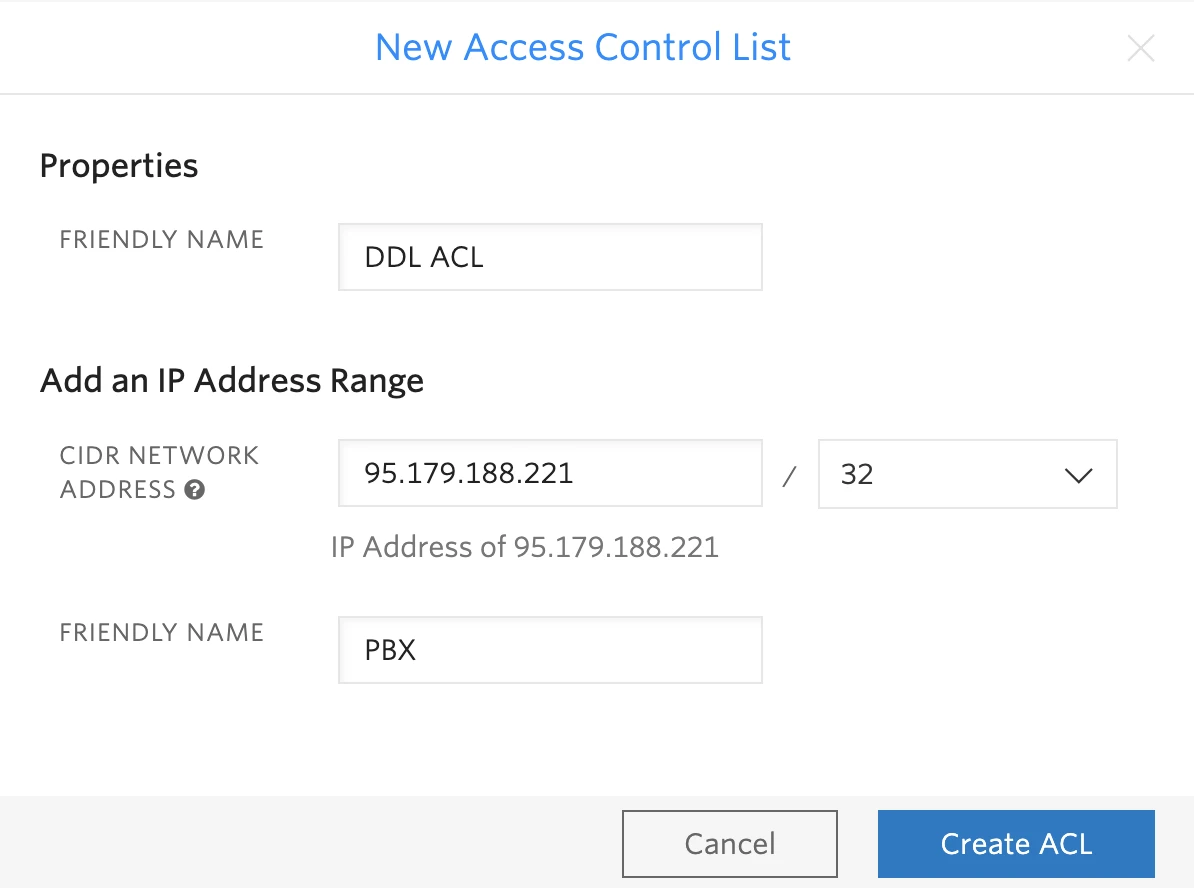
- On the same page, navigate down to "Voice Authentication" and press the "+" button next to the "IP access control lists".

- Enter the name for the new ACL, the IP address of your PBX, and the name of your PBX. Then press "Create ACL".
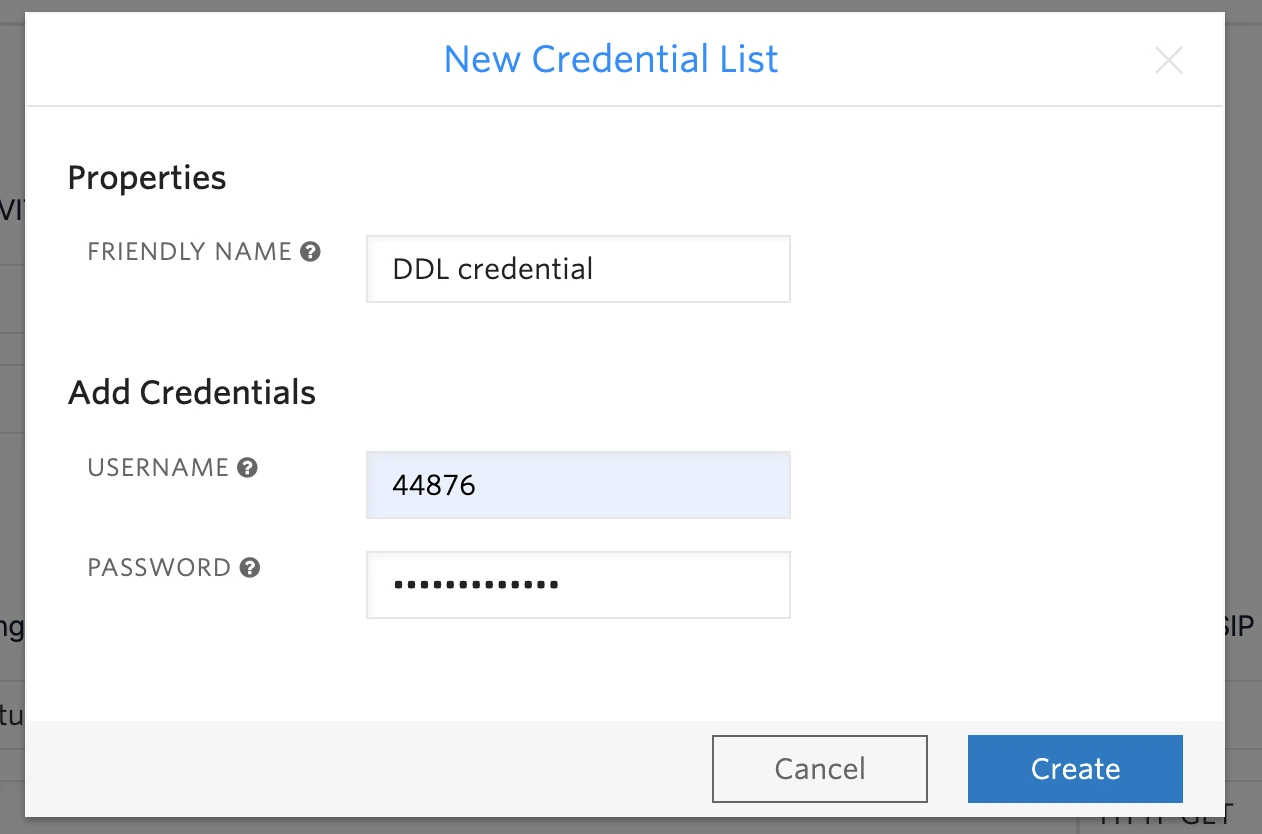
- Afterwards, press the "+" button next to the "Credential lists".

- Enter the name for the new credential list and fill in the credentials with your 5-digit didlogic SIP login and password. Press "Create".
- Your "Voice Authentication" should look like this:

- On the same page, navigate down to "Call Control Configuration".
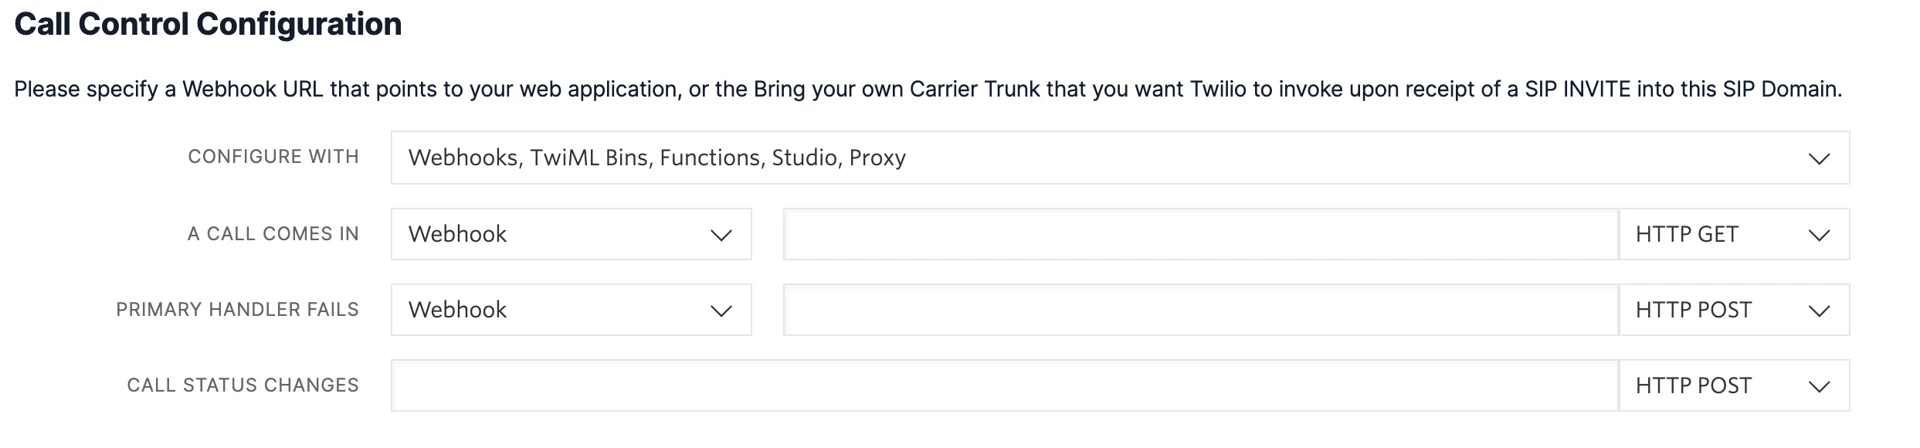
- Click on "A call comes in" and select "TwiML Bin" in the dropdown menu.
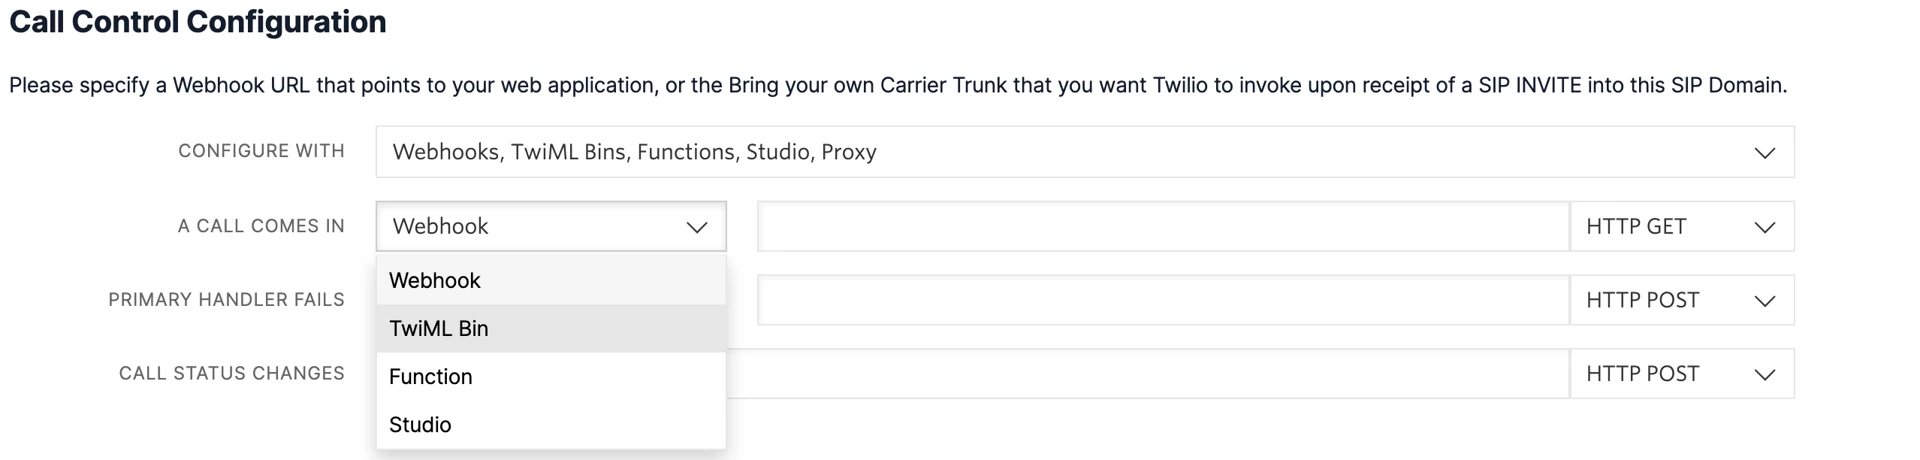
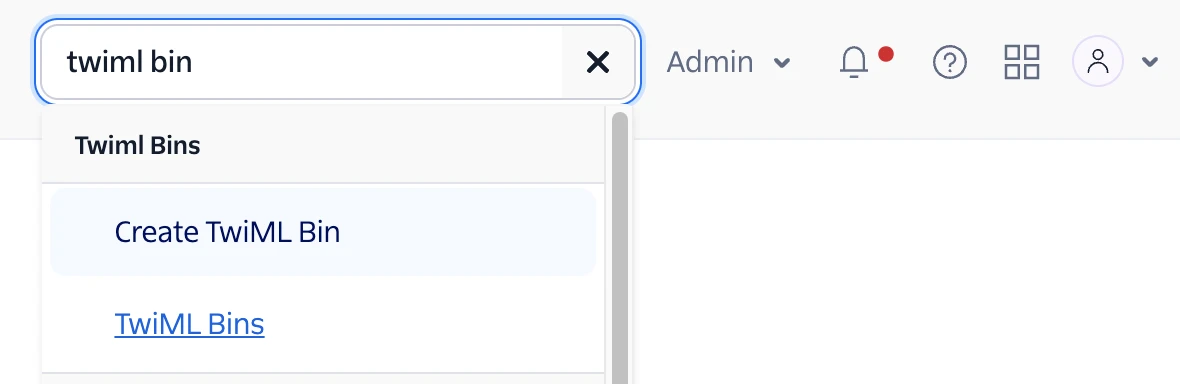
- Do not close the page! Open a new one (right-click on the tab > duplicate). On the newly opened page, in the top left corner, enter "TwiML Bin" in the search bar and select "Create TwiML Bin".
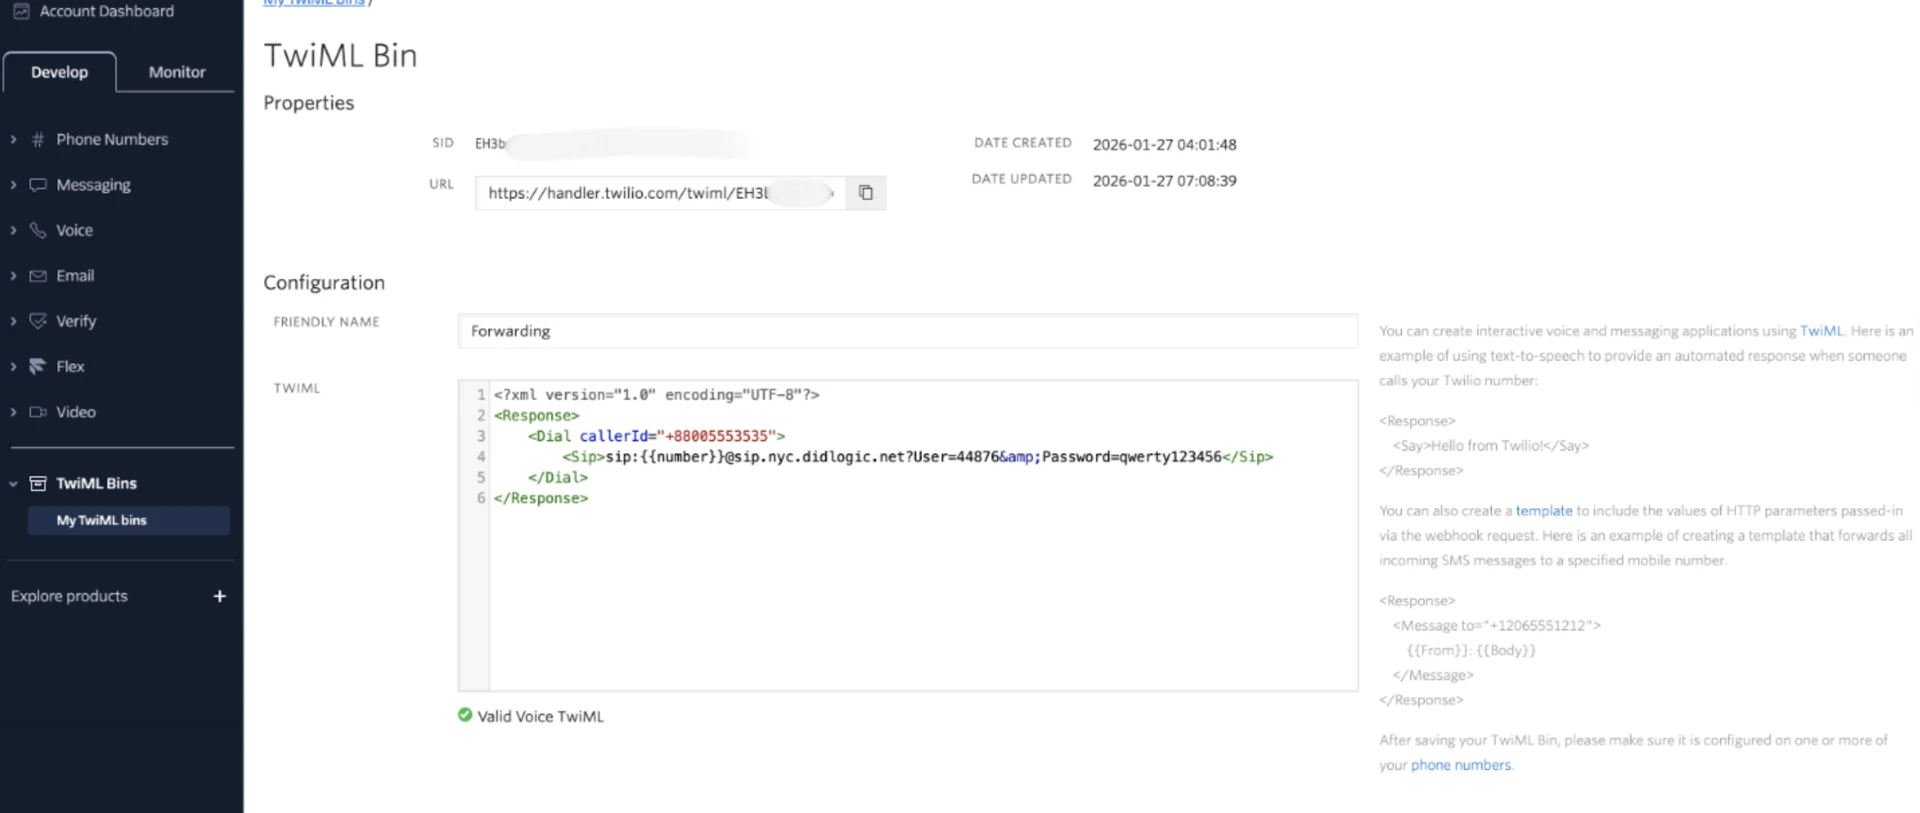
- On the newly opened page, enter the name for your TwiML Bin, and enter the following into the "TWIML" field:
<?xml version="1.0" encoding="UTF-8"?>
<Response>
    <Dial callerId="{{numberName}}">
        <Sip>sip:{{number}}@sip.nyc.didlogic.net</Sip>
    </Dial>
</Response>
-
Replace sip.nyc.didlogic.net with the SIP gateway closest to your location, and hit "Create".
-
Return to the previous page with the SIP domain, scroll down, and click "Save". You will be returned to the SIP Domains menu, where you need to click on your newly created SIP domain.

- Scroll down to "Call Control Configuration" and choose your configured TwiML Bin in the "Select a Twiml Bin".

-
Now your SIP Domain should look like this. Scroll down and click "Save".
-
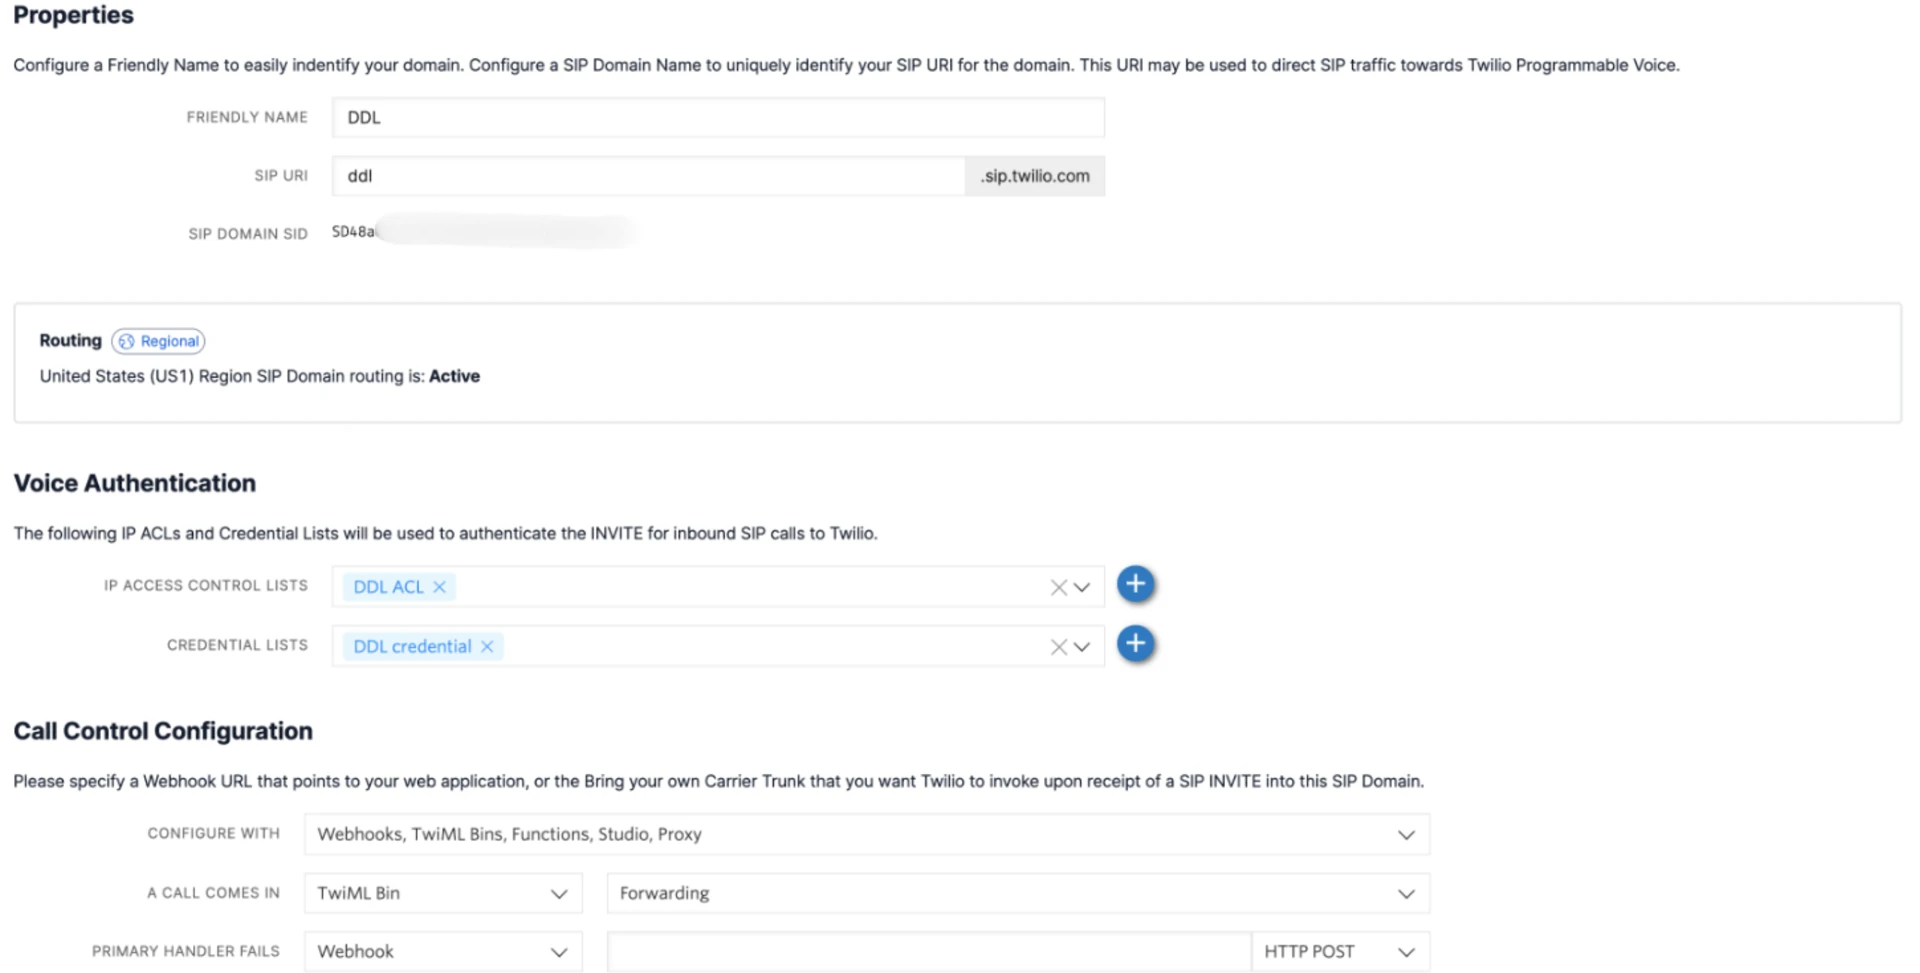 Configure your PBX to send a call to your SIP URI (you can see it in the SIP Domains) from the IP in ACL, with the credentials you specified.
Inbound call routing
Twilio configuration
- Sign in to the Twilio dashboard and go to Develop → Voice → Manage → IP Access Control Lists.
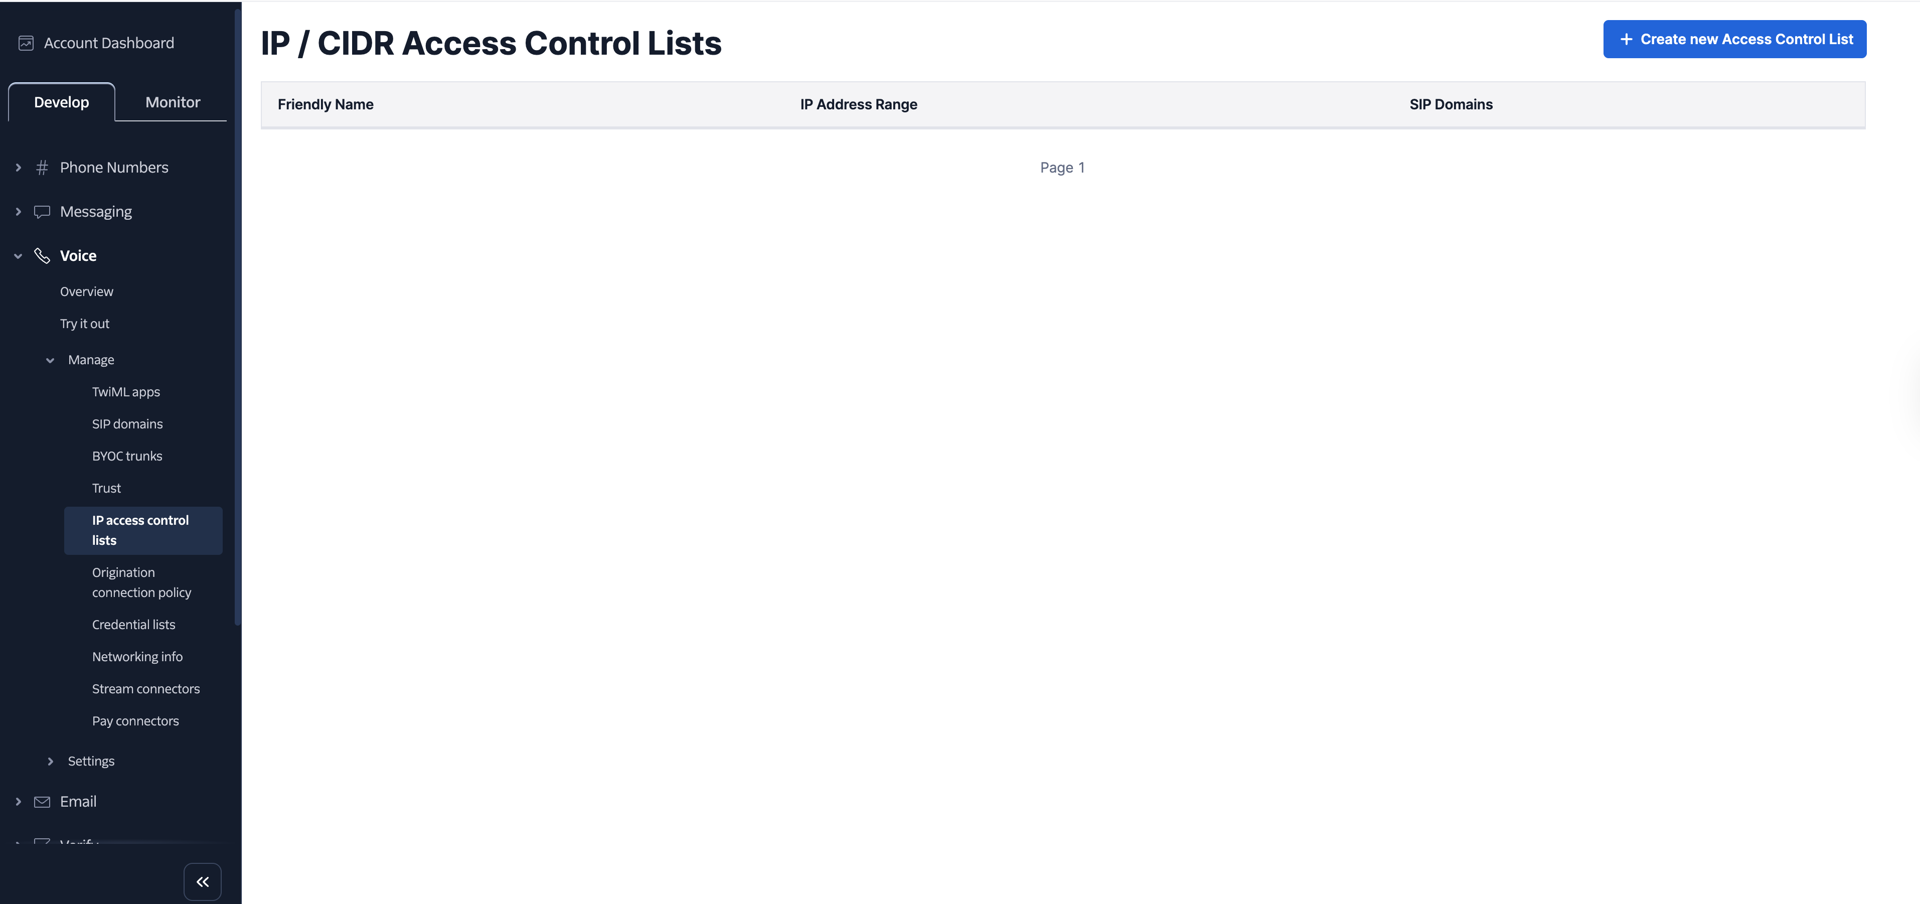
- Click on "Create new Access Control List" and enter the name for the ACL and an IP address of a regional gateway from the list here.
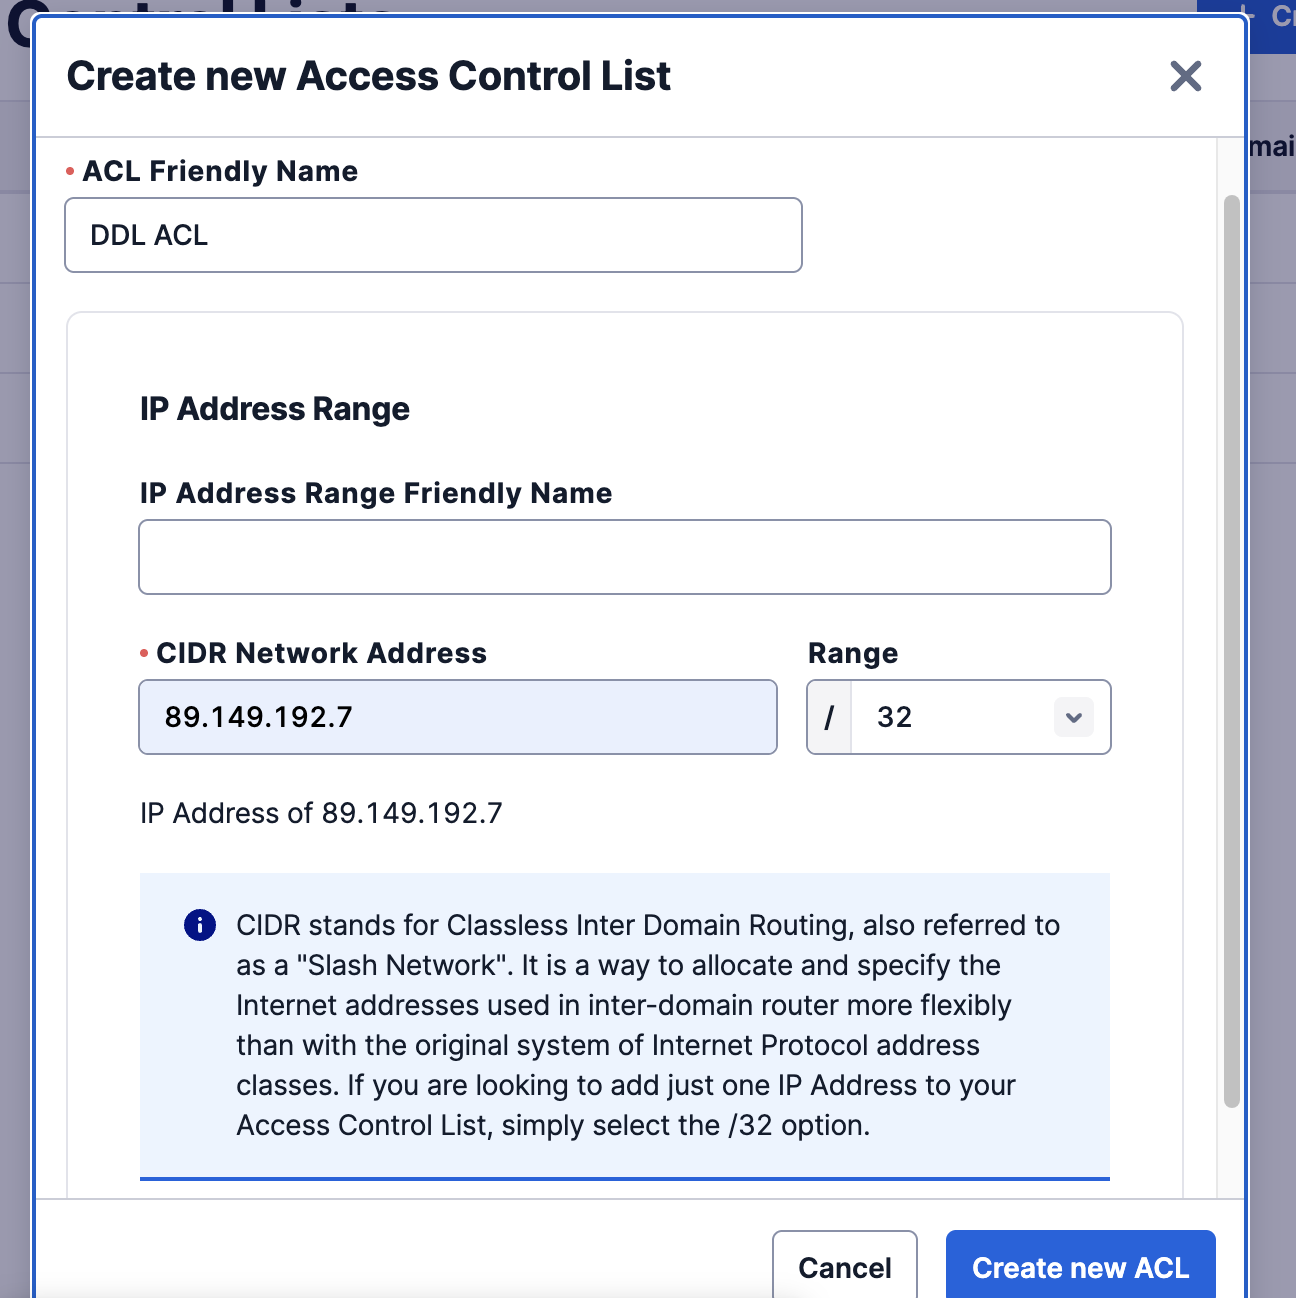
- Press "Create new ACL". You will be redirected to a new ACL. Click on "Create new IP Address Range".
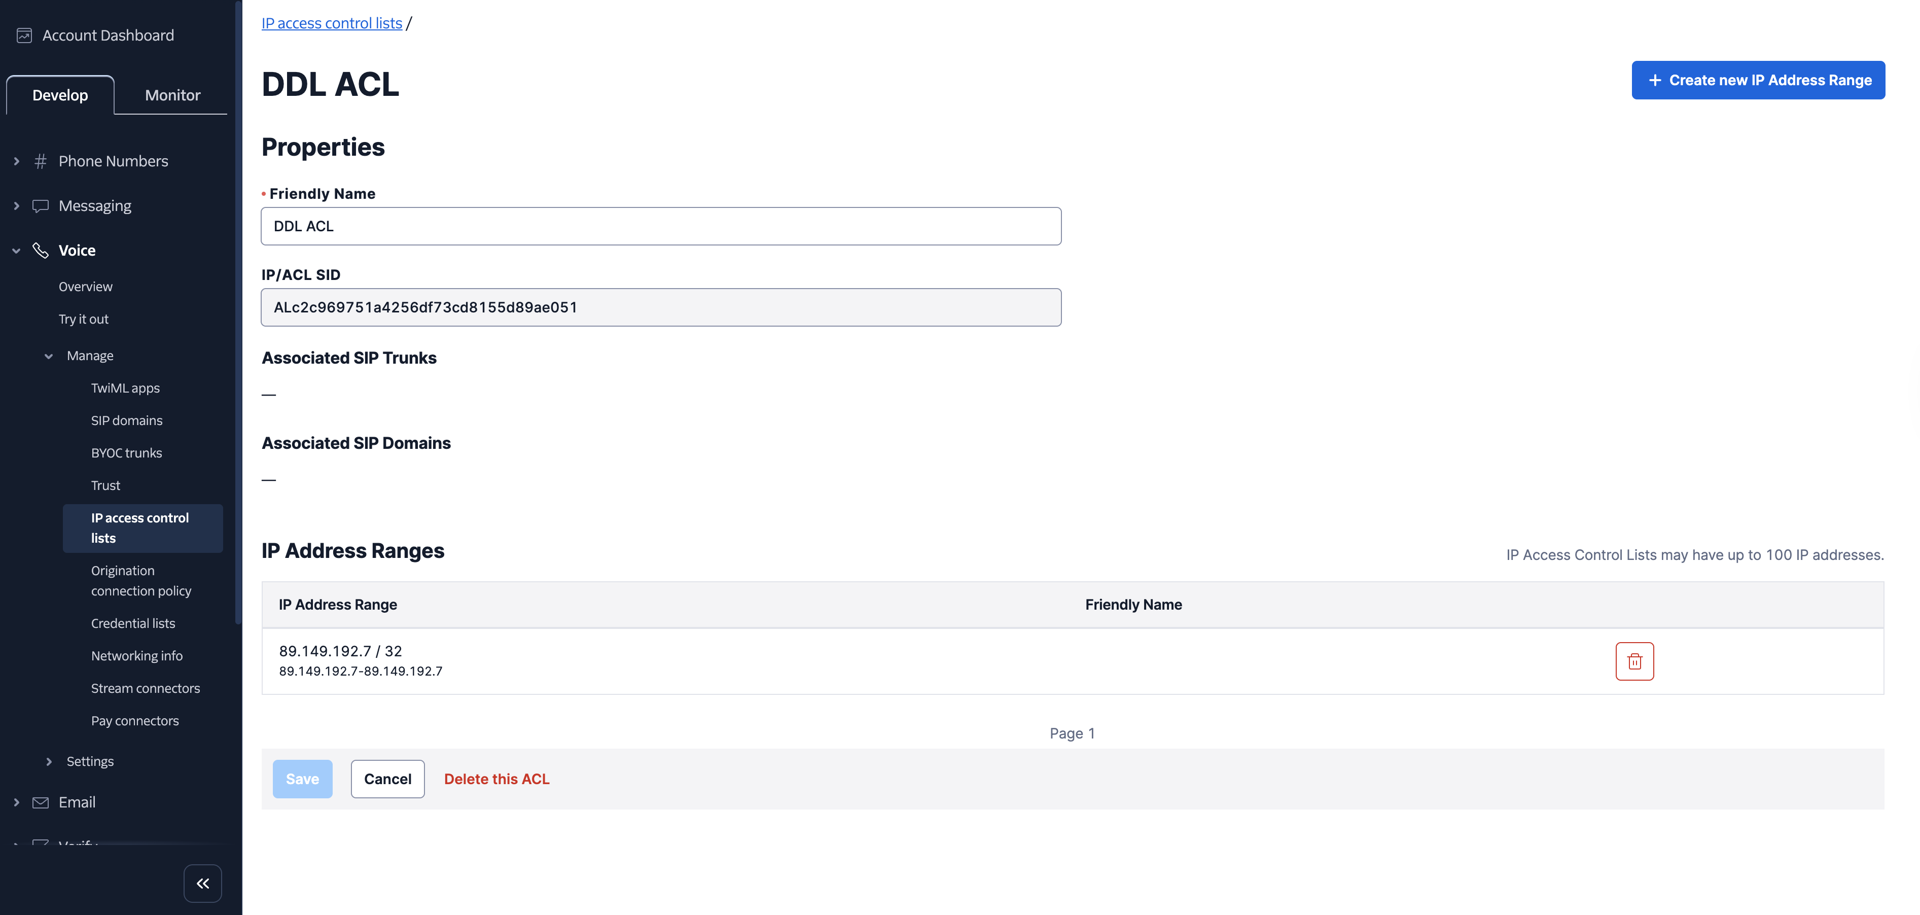
- In the newly opened window, copy and paste all the IP addresses provided here, one by one.
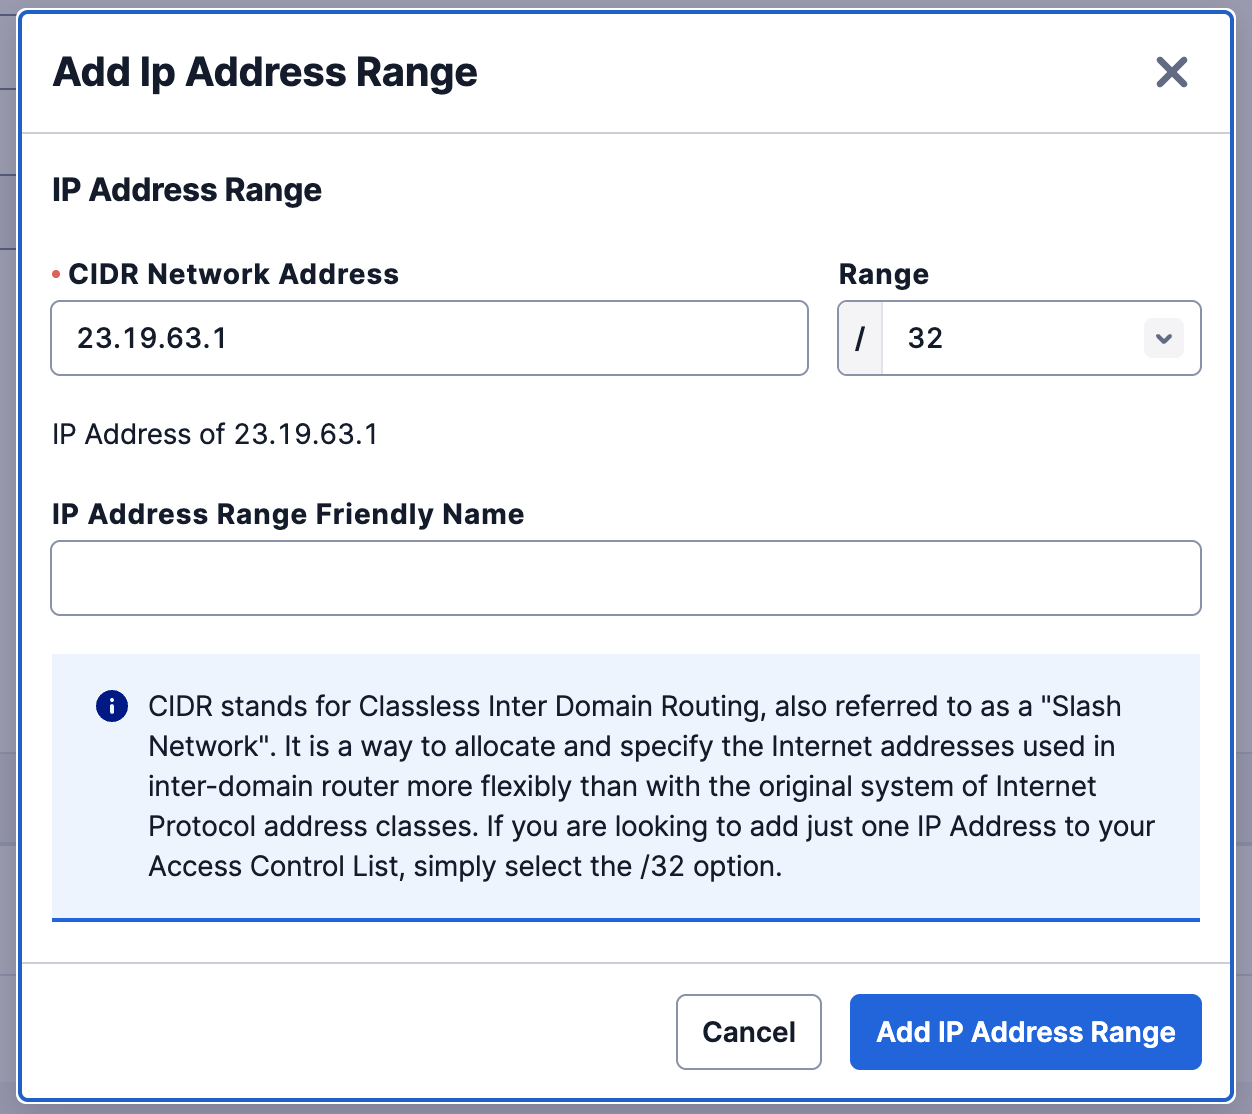
- After all the didlogic IP addresses are added, go to Develop → Voice → Manage → SIP domains.
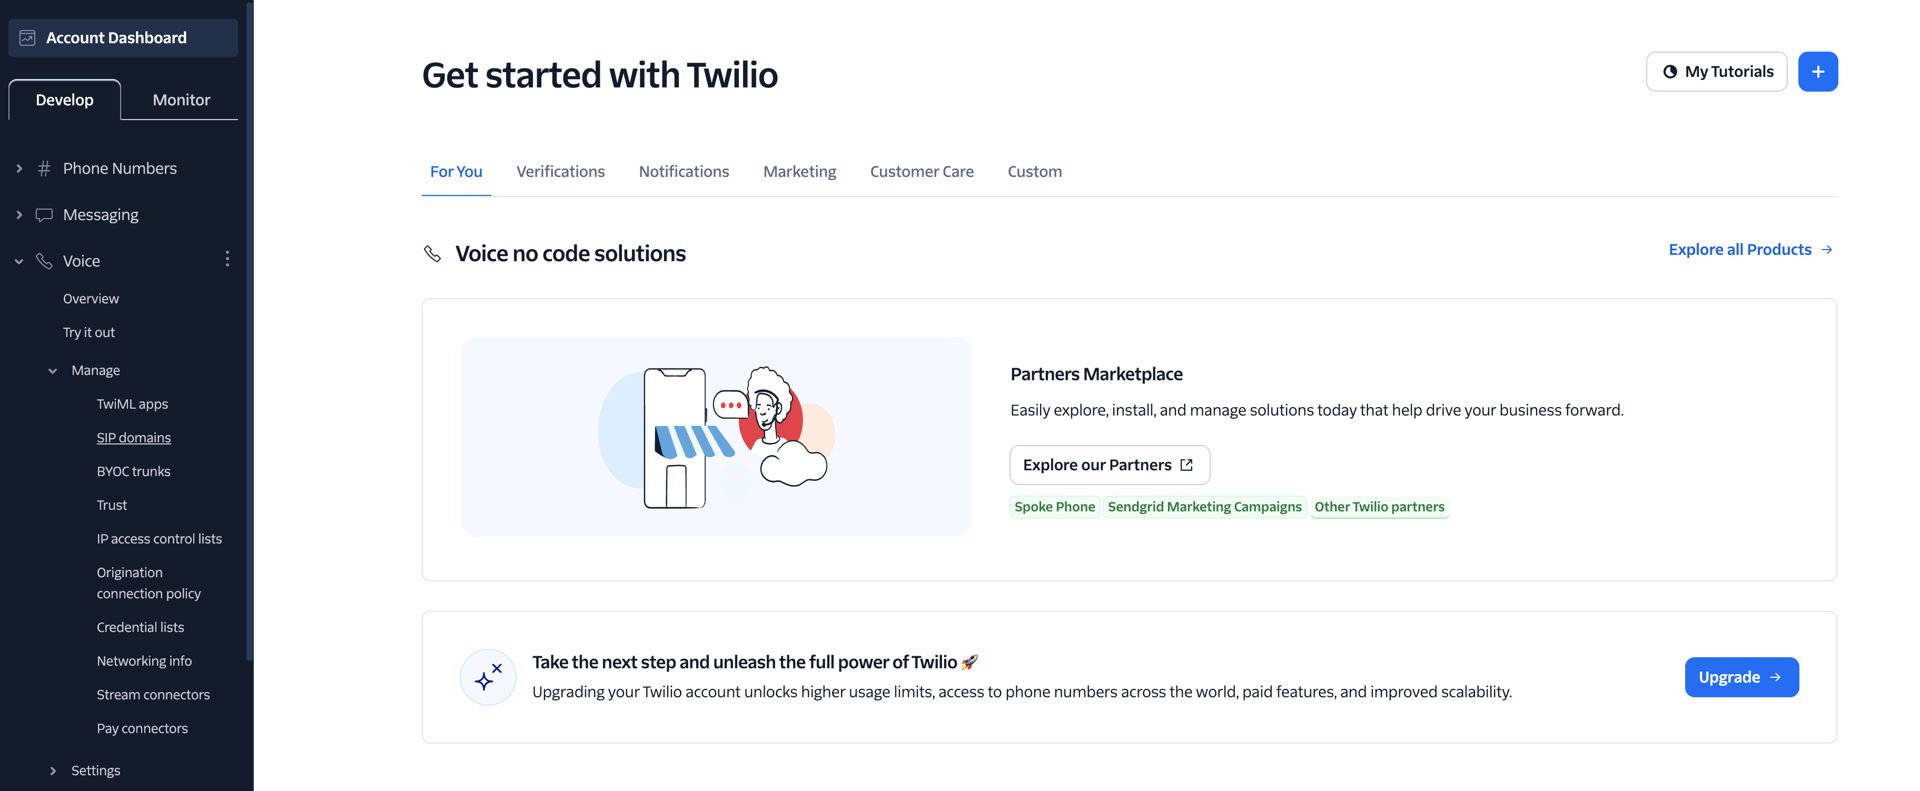
- You will see the Programmable SIP Domains page, where you need to add a new SIP domain. Press the "+" button.

- The "New SIP Domain" page will open.
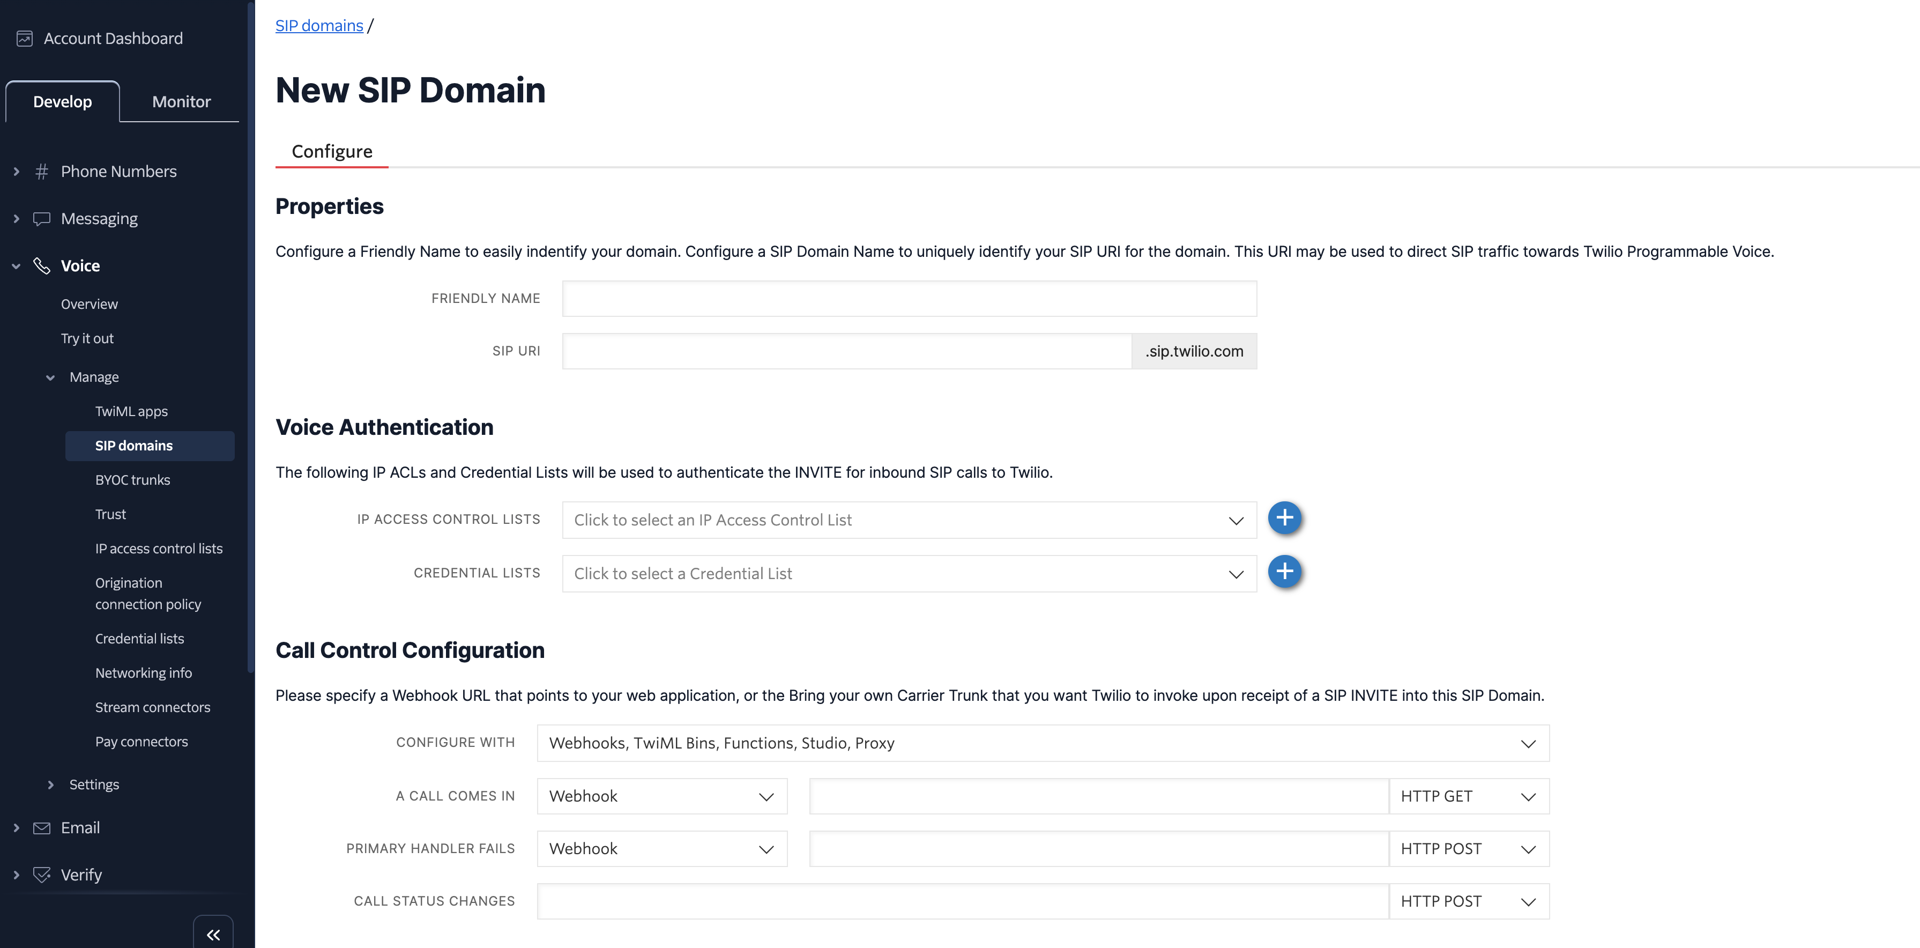
- Enter the desired name into the "Friendly name" field; it can be anything. Afterwards, enter the desired name into the "SIP URI" field, and ensure it is available.

- On the same page, navigate down to "Voice Authentication" and select the created IP ACL.

- Then, navigate down to "Call Control Configuration" and select "TwiML Bin" in the "A Call Comes In" menu.
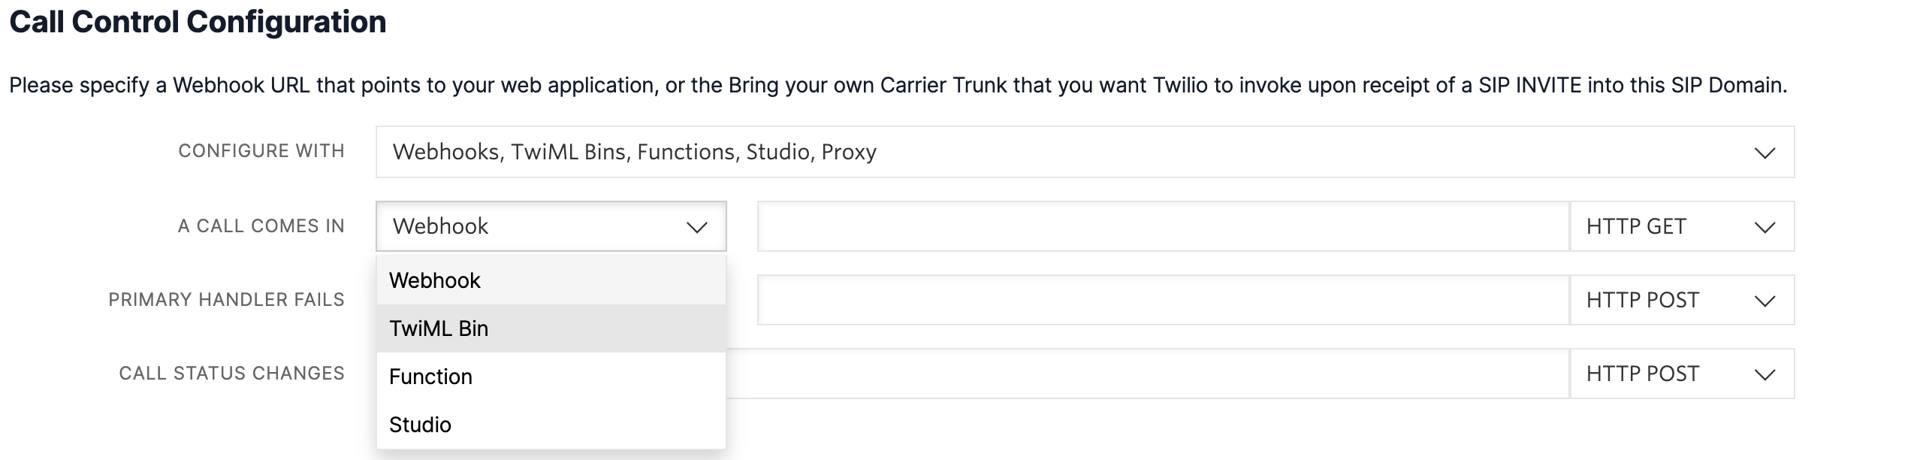
- Do not close the page! Open a new one (right-click on the tab → duplicate). On the newly opened page, in the top left corner, enter "TwiML Bin" in the search bar and select "Create TwiML Bin".
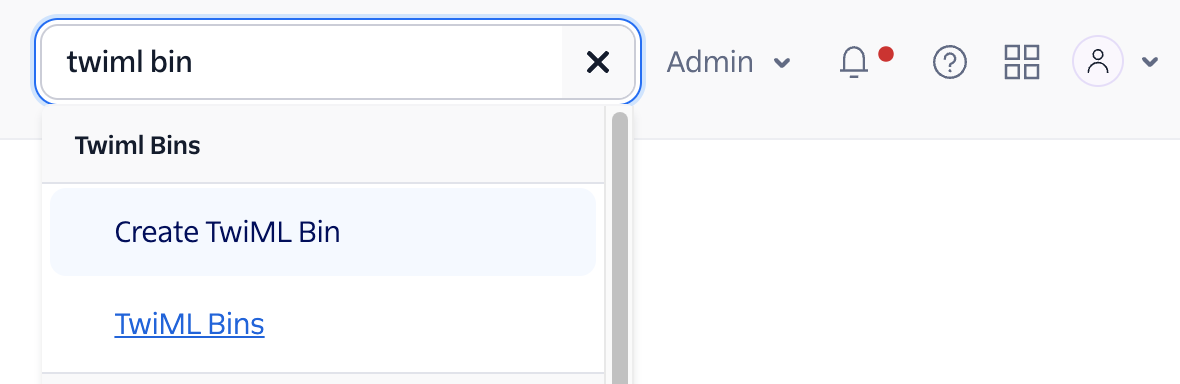
- Enter the name for your TwiML Bin, and then enter the following into the "TWIML" field. Replace the [YOUR CLIENT ID] or the entire
<Client>section to fit your endpoint, as the configuration may vary.
<?xml version="1.0" encoding="UTF-8"?>
<Response>
    <Dial callerId="{{#e164}}{{From}}{{/e164}}">
      <Client>[YOUR CLIENT ID]</Client>
  	</Dial>
</Response>
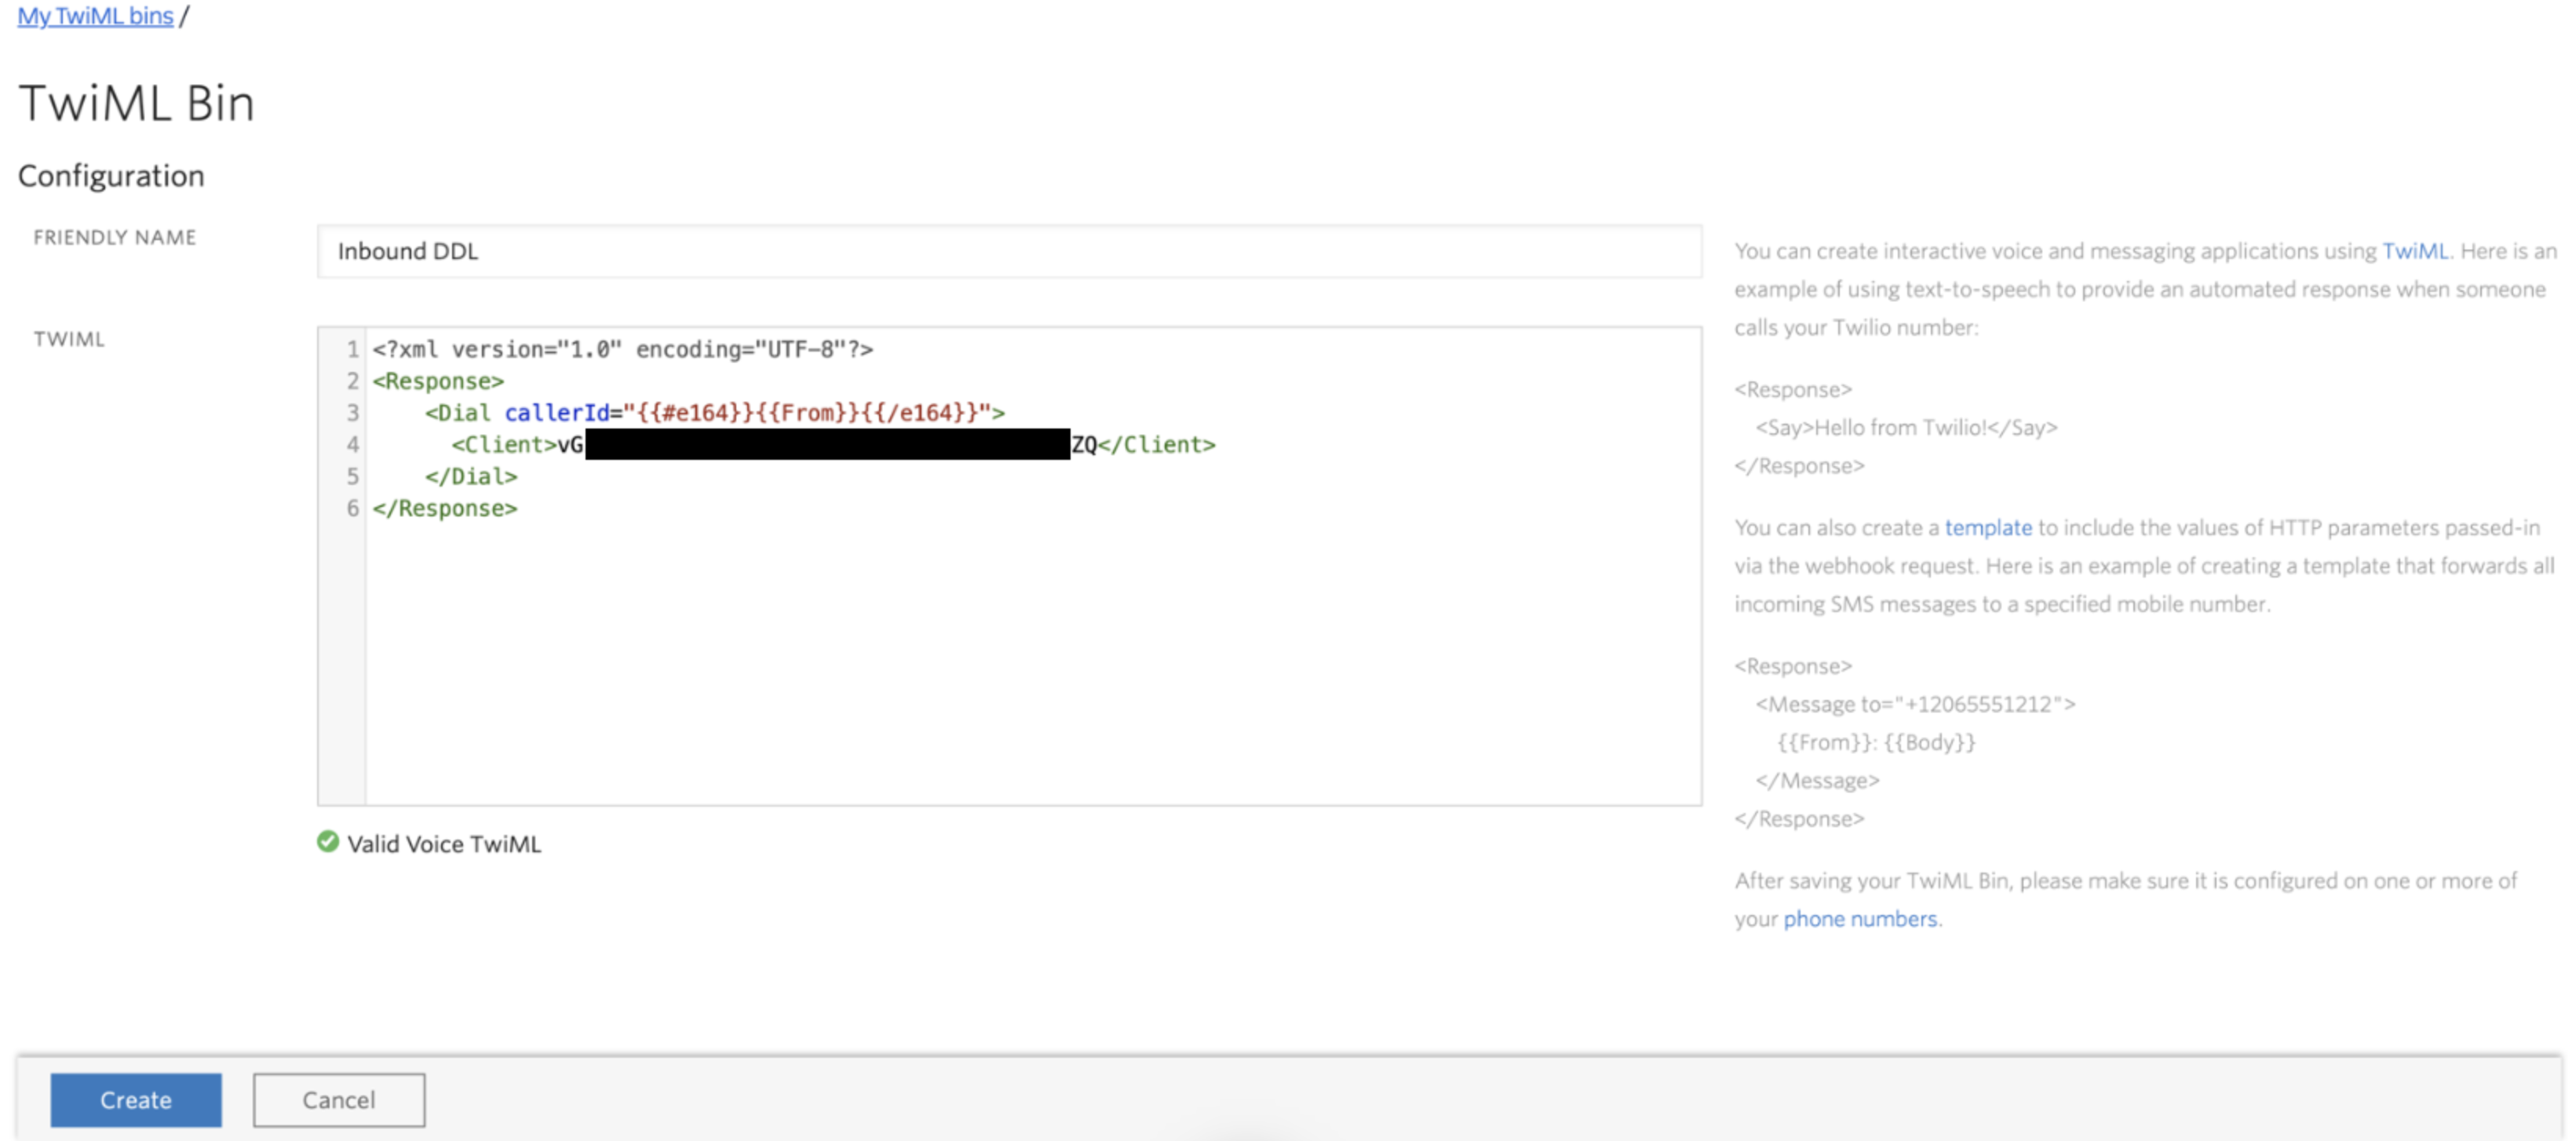
- Click "Create".
- Return to the previous tab with the SIP domain, scroll down, and click "Save". You will be returned to the SIP Domains menu. Click on your newly created SIP domain.

- Scroll down to "Call Control Configuration" and choose your configured TwiML Bin in the "Select a Twiml Bin".

didlogic configuration
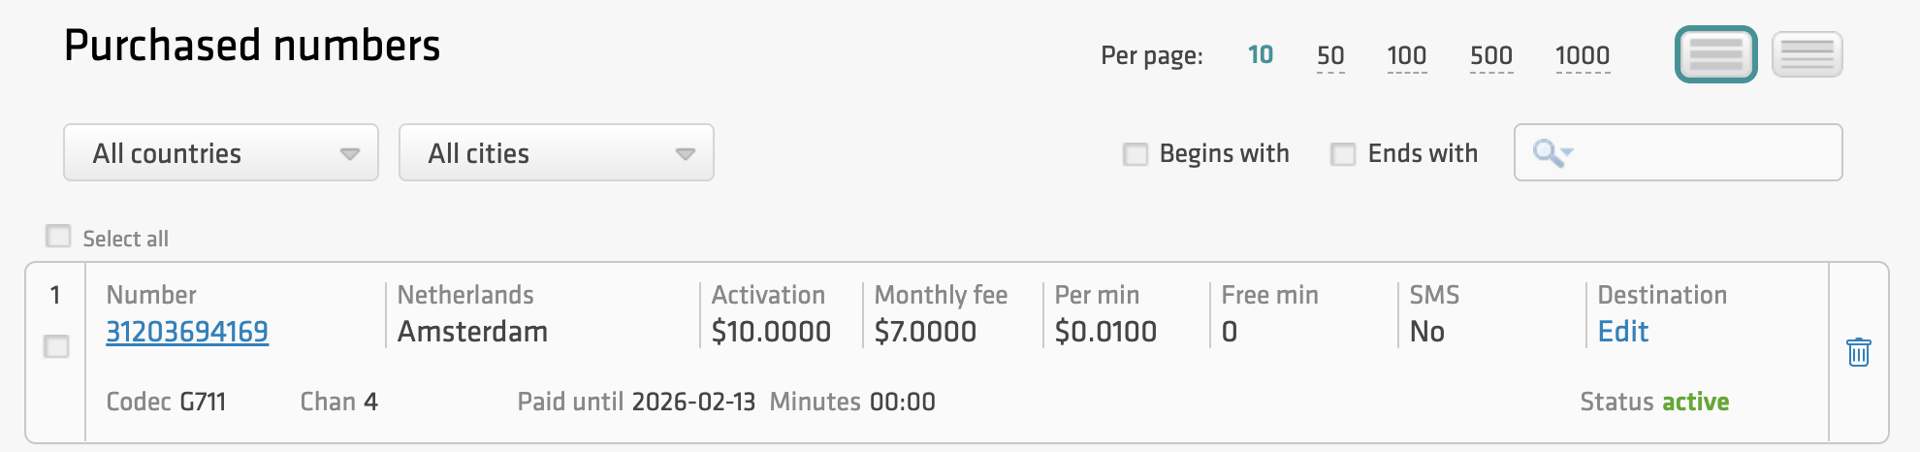
- Navigate to your didlogic account and enter the "Purchased" tab.

- Locate the number you want to set up and click "Edit".
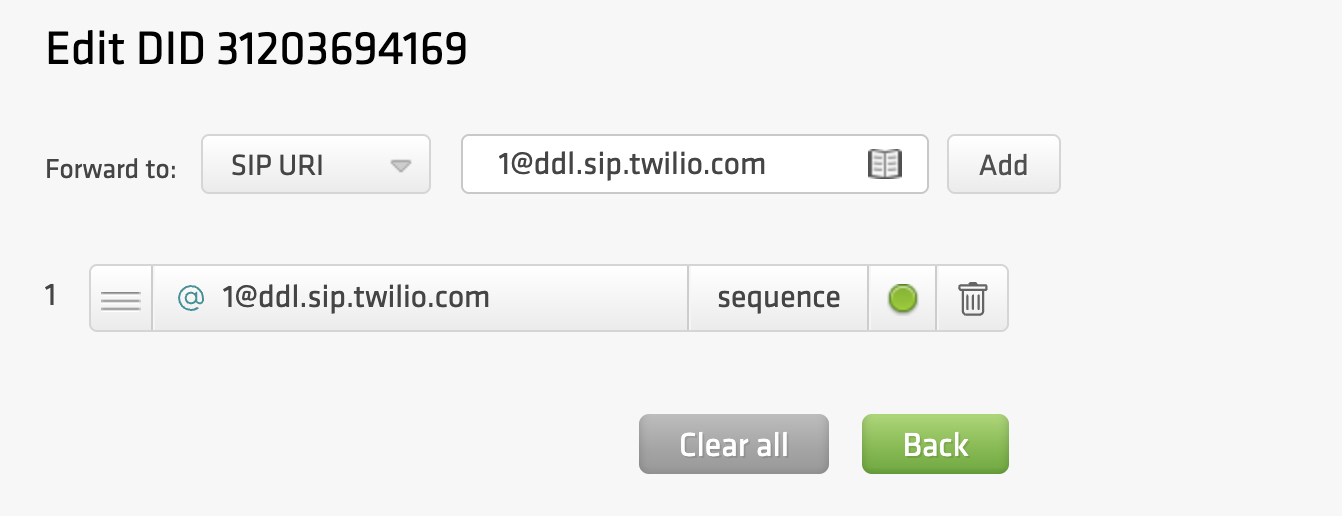
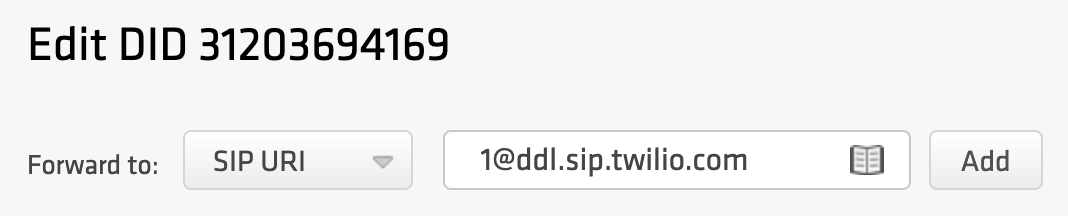
- In the dropdown menu, select "SIP URI", enter
1@[YOUR_SIP_DOMAIN], and press "Add".
- The new destination will appear below; click "Back" to return to the list of purchased numbers.