MicroSIP
Connect the MicroSIP softphone for Windows to your didlogic SIP account to make and receive calls.
Before you begin
You need a didlogic SIP account. If you don't have one yet, create it.
Outbound call configuration
-
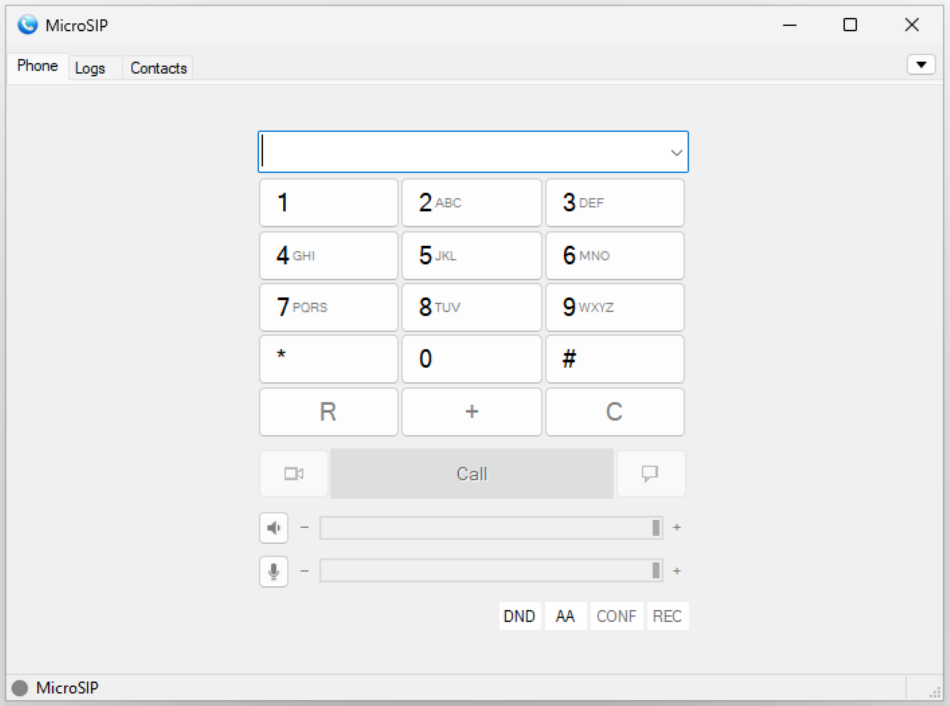
Open MicroSIP and click the arrow in the top right corner.
-
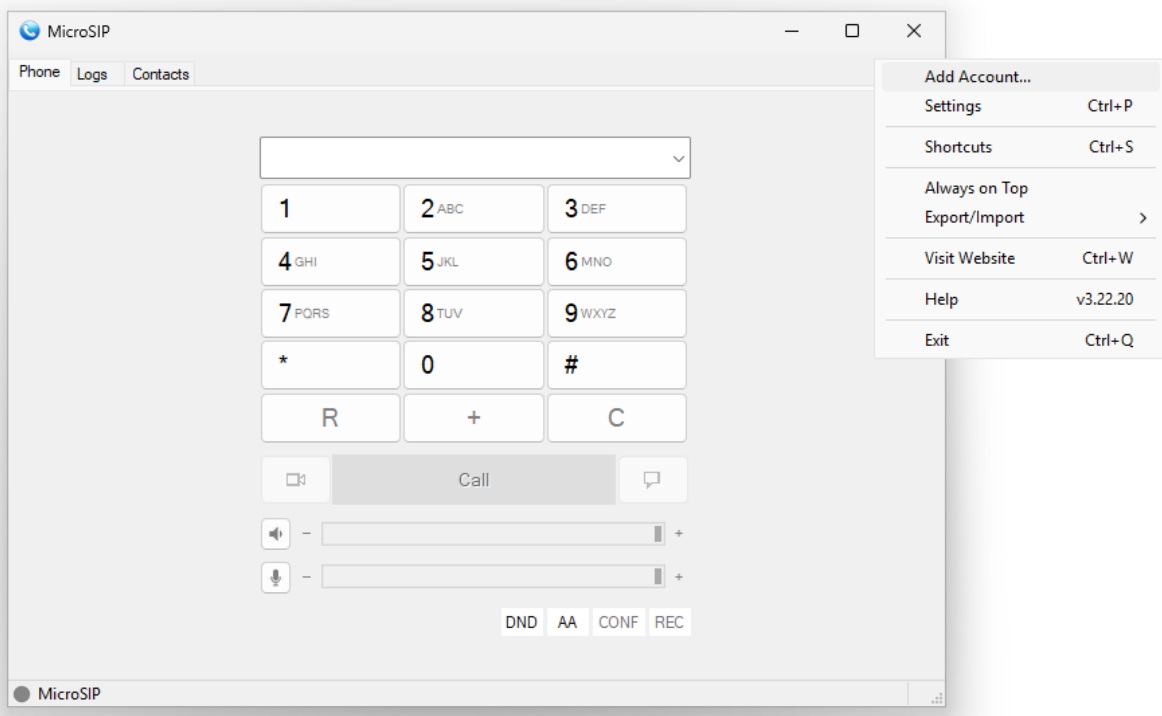
 Select Add Account.
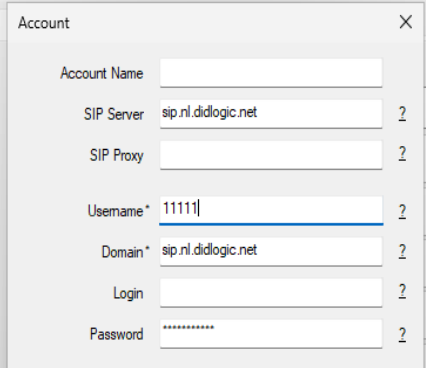
- Fill in the account fields:
| Field | Value |
|---|---|
| SIP Server | One of our regional gateways, the one closest to you |
| Username | Your SIP account username |
| Domain | The same gateway as in SIP Server |
| Login | Leave empty, or enter the same value as in Username |
| Password | Your SIP account password |
- Click Save.
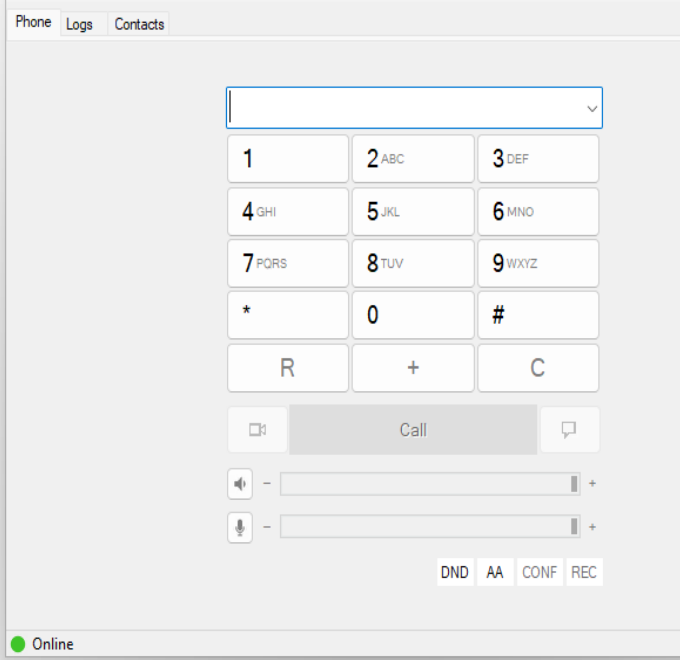
- Ensure the status at the bottom left changes to Online. You can now make calls from MicroSIP.
Inbound call configuration
-
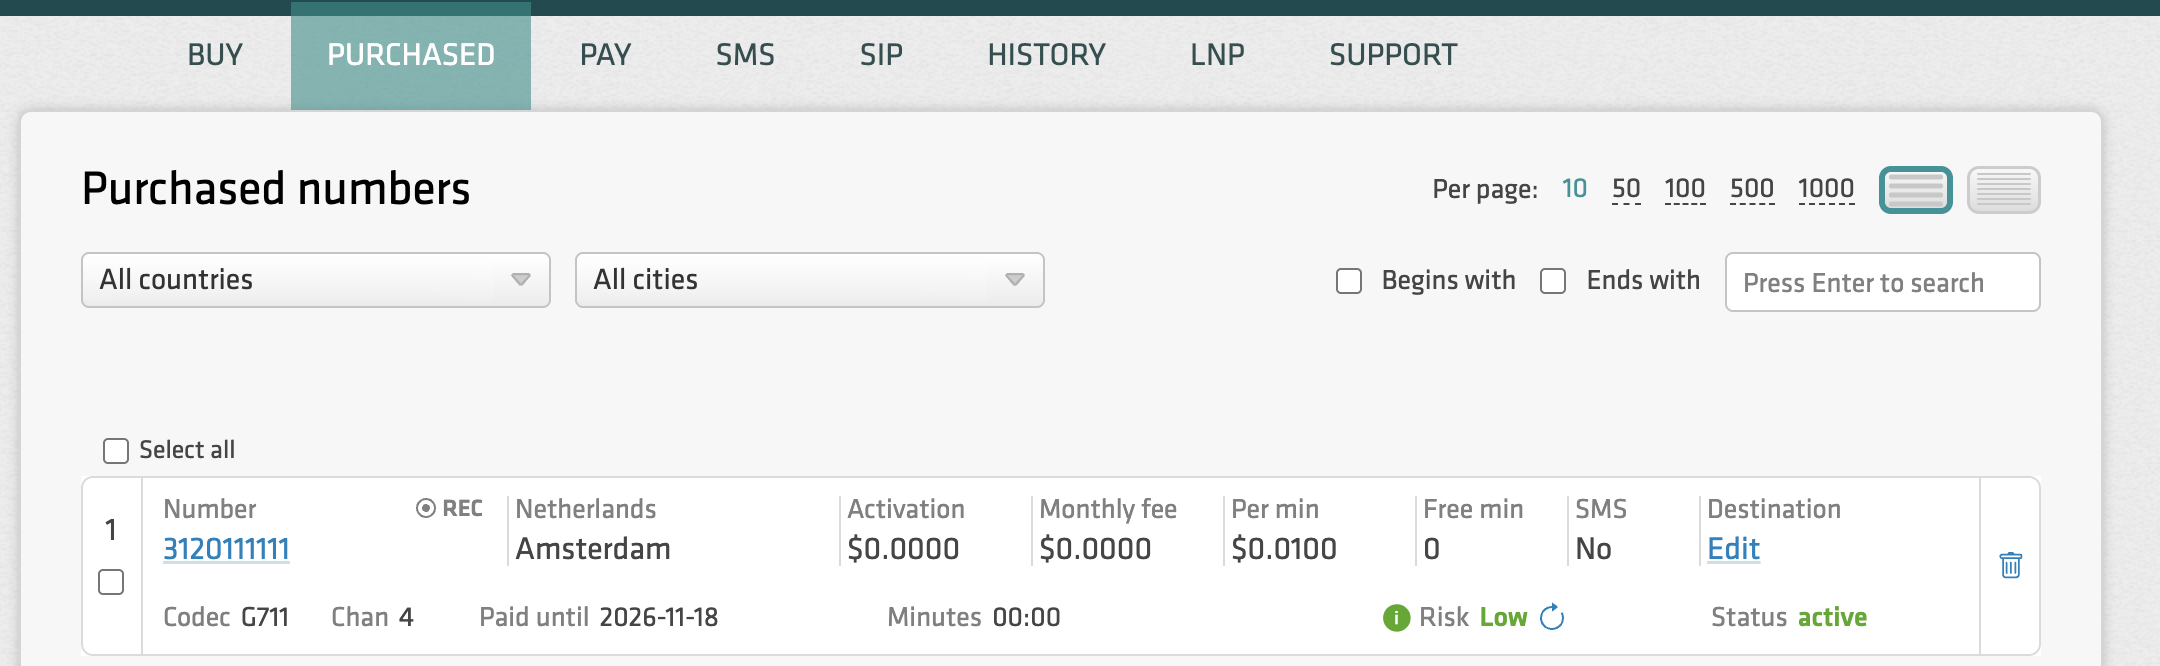
Open your purchased numbers and Edit the destinations of the number you want to use.
-
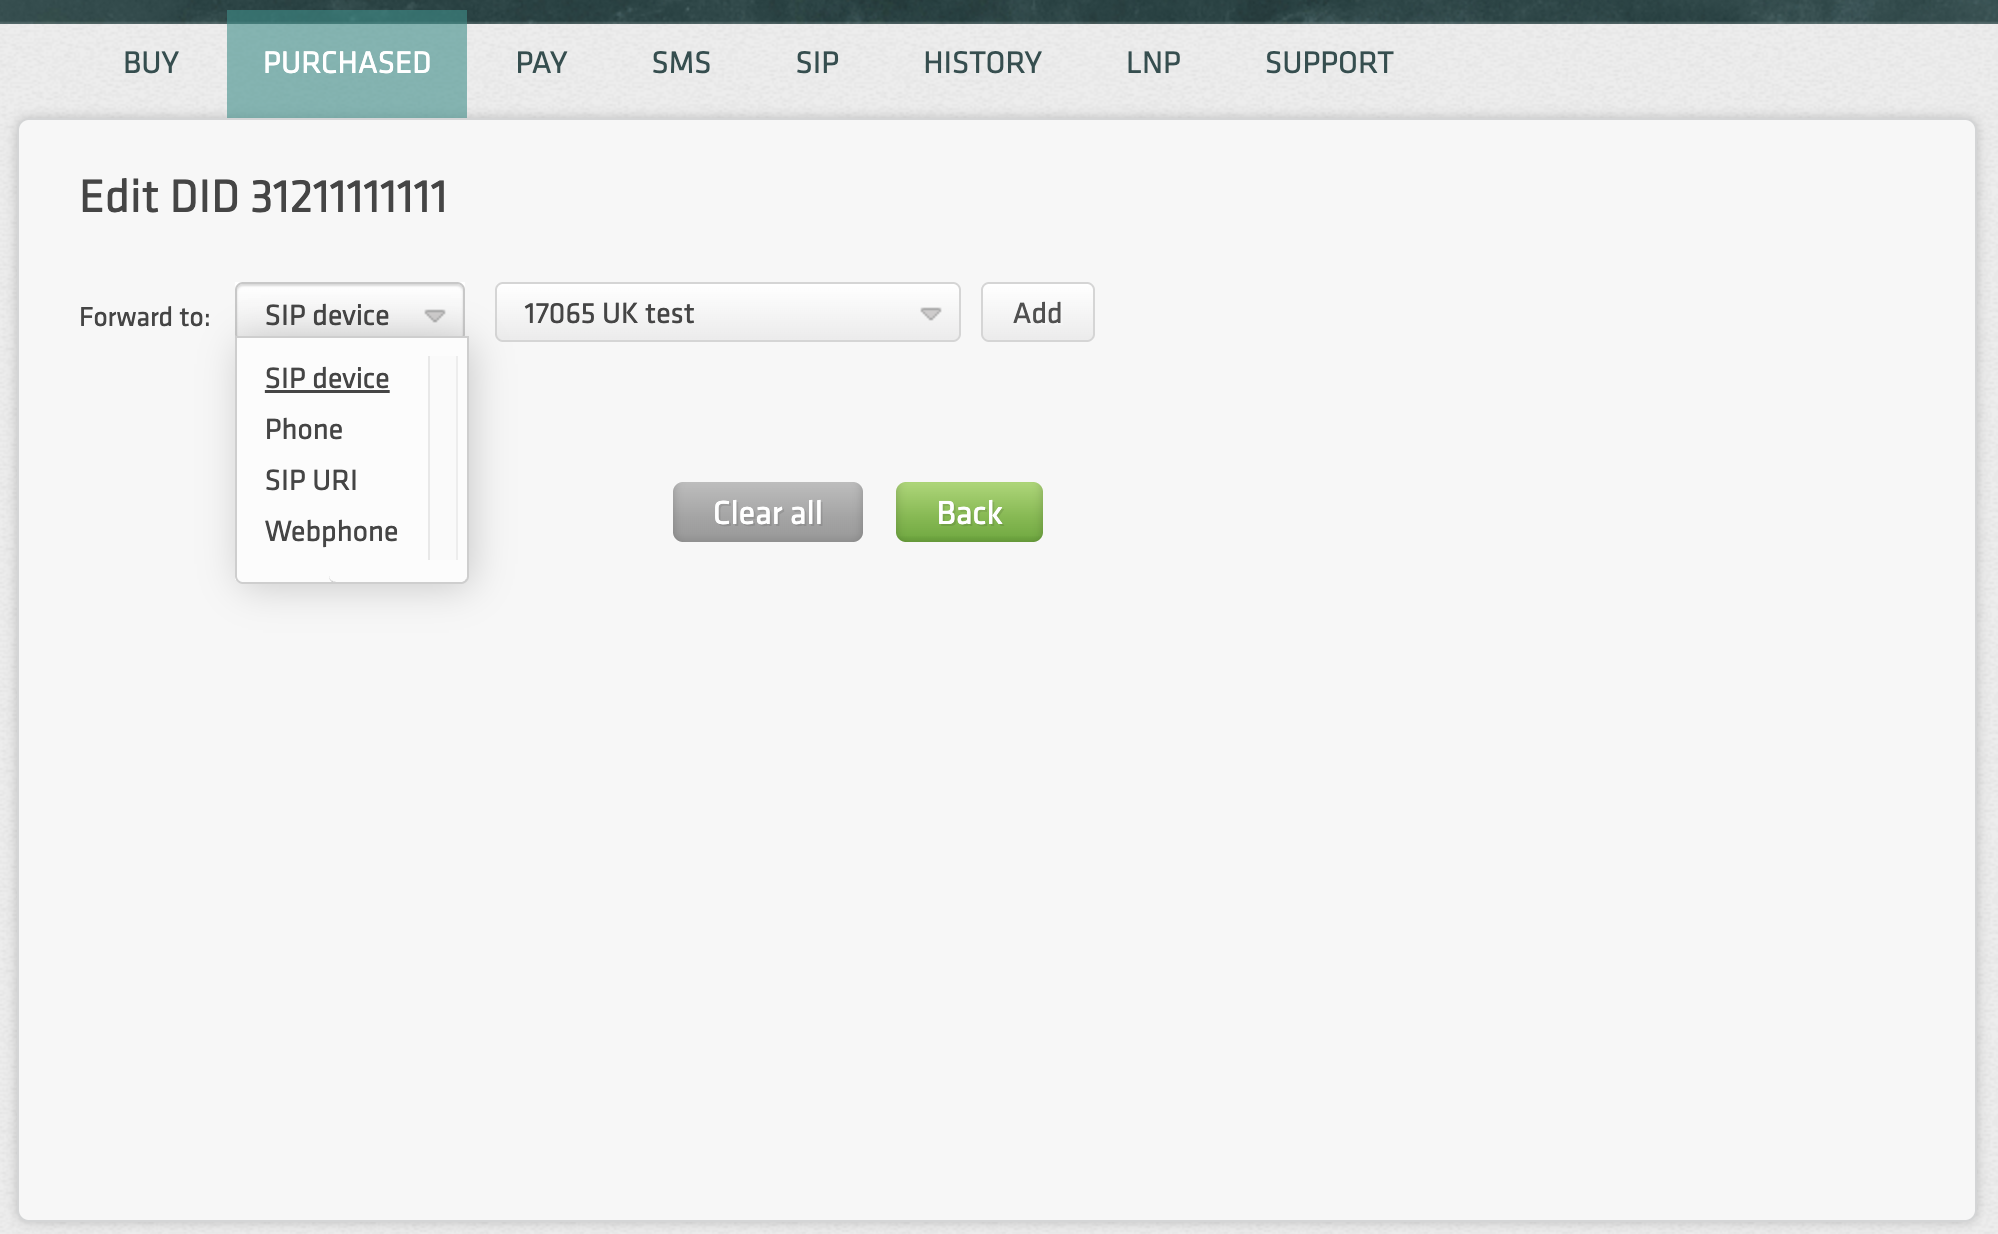
Choose SIP Device as the destination type.
-
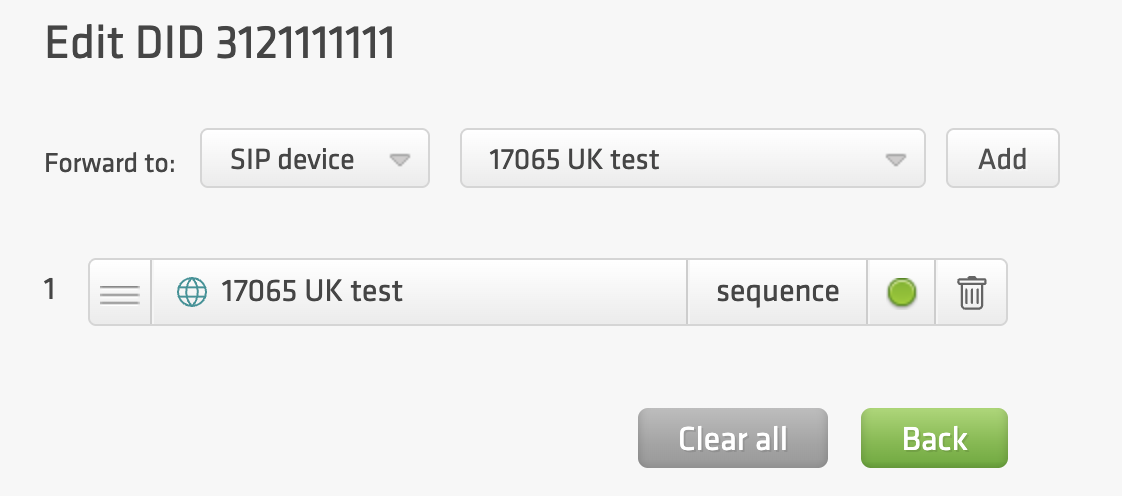
Select the SIP account you added to MicroSIP and click Add.

- Open your purchased numbers and edit the destinations of the number you want to use.
warning
MicroSIP must stay open and Online to receive calls.
Troubleshooting
| Issue | Likely Cause | Solution |
|---|---|---|
| "Incorrect password" | Wrong credentials | Check the username and password. Leave Login empty, or enter the same value as in Username |
603 Declined | Max Rate Limit | Call a destination within your max rate, or contact [email protected] to raise it |
| No Audio | Firewall or NAT | Open UDP ports 10000-20000 for RTP traffic |
| Outbound calls fail | Wrong number format | Dial in international format with the country code, without the 00 prefix |
| Incoming calls don't ring | Firewall, NAT, or destination | Make sure IP addresses of didlogic regional gateways are allowed on the firewall. Verify the Line Group ID is assigned to both the trunk and the route. Use System Monitor in IP Office to see how the call is presented and troubleshoot format mismatches. |